

Things you should know about Ethpool Staking
If you are a true crypto enthusiast then you undoubtedly know that cryptocurrencies have gained a lot of popularity over the past few years. Along with that, various new technologies and platforms are also continuously emerging to revolutionize the industry. One such technology is Ethereum, one of the fastest growing financial sectors in the crypto world because of its versatile product offerings. But have you ever thought or heard about Ethpool Staking? If not, then don’t worry because we are here to make you understand about Ethpool (Ethereum Pool) Staking by taking you with us in our further sections of this blog.
In our further content, we will cover some topics such as an introduction to Ethpool Staking and pre-requirements to start staking on Ethpool. Along with that, we will also cover some steps that will help you to start the staking process on Ethpool.org, if you already have the keystore-m.json file (encrypted version of the validator private key).
What is Ethpool Staking?
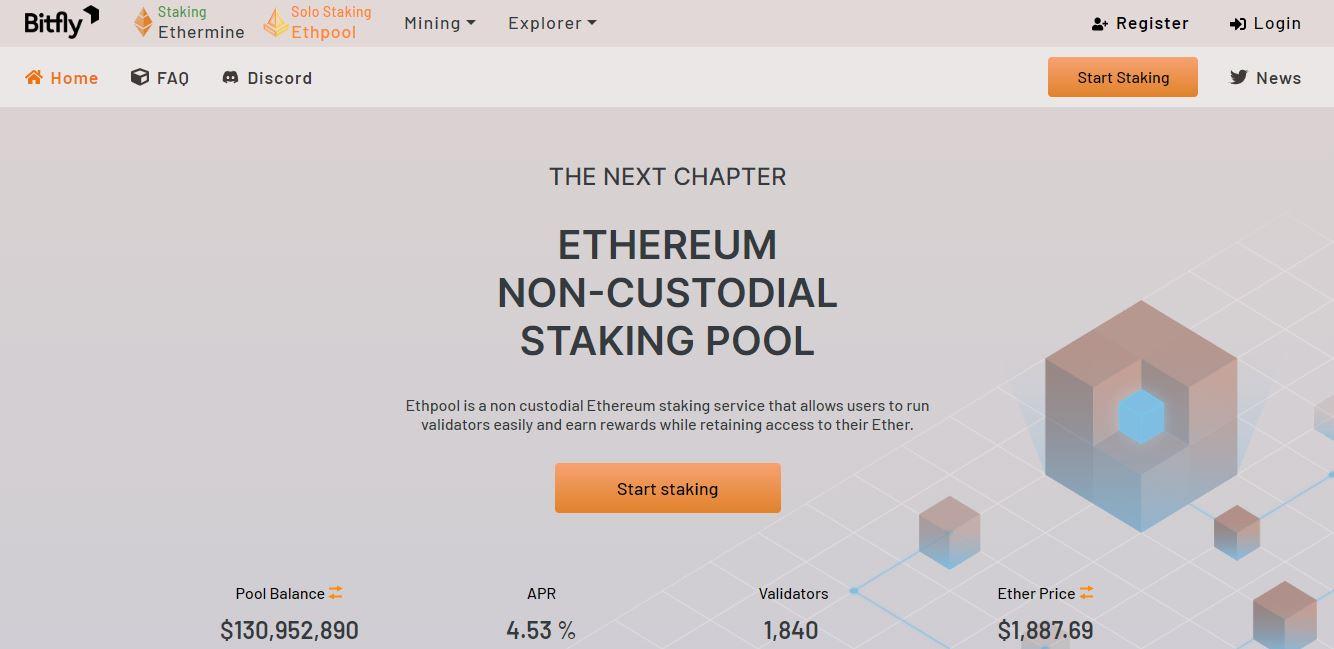
Ethpool Staking is an essential component of Ethpool.org platform, which is the predictable solo mining pool. It is also known as Ethereum non-custodial solo staking pool. The platform allows its users to run validators in a more convenient way and earn rewards while staking a certain amount of their Ether (ETH).
Pre-requirements to take part in Ethpool Staking:
After reading through the above section we are sure that you are now interested to participate in Ethpool Staking but before starting the process you have to go through the given below points,
- Register yourself on the Etherpool.org platform by tapping on “Starting Staking” or “Register” button.
- Connect a web3 wallet on the platform and make sure to select the wallet in which you want to receive all of your validator earnings.
- Create validator key on the official Eth 2.0 deposit-cli. In this process you will receive two files i.e., deposit_data.json file (which will be used to fund validator with 32 ETH) and keystore-m.json file (per validator).
- Fund your deposit_data.json file through the official website of Ethereum 2.0 Launchpad.
Steps to take part in Ethpool staking if you already have keystore-m.json file:
We have mentioned below an easy step-by-step guide that will help you to start Ethpool Staking on ethpool.org through your keystore-m.json file.
- In the first step, launch your preferred web browser and then visit ethpool.org.
- Once the web page is fully loaded or opened up, register yourself through your email ID and then log in to the interface.
- Now, click or tap on the “Start Staking” tab.
- Hit on the “Yes. Take me to the advanced flow” section.
- Scroll down on the web page and then agree to “Terms and Risks”.
- Drag and drop or submit your keystore-m.json file in the required field.
- In the final step, enter your Keystore password in the given text field and then click or tap on the “Upload” button to finish the entire process.
Once you follow all of these steps, your validators will appear on the dashboard of Etherpool.org.
Bottom Line:
Overall, Ethpool Staking allows stakers to earn full rewards without involving any middlemen and to maintain a complete control over their keys. Along with that, if you already have generated keystore-m.json file but are unaware of how to start staking it on Ethpool then follow the instructions mentioned by us in our above content. We hope that the information mentioned by us in our above content was helpful to you.