

The Best Way to Draw The Grinch | A Complete Guide
Introduction:
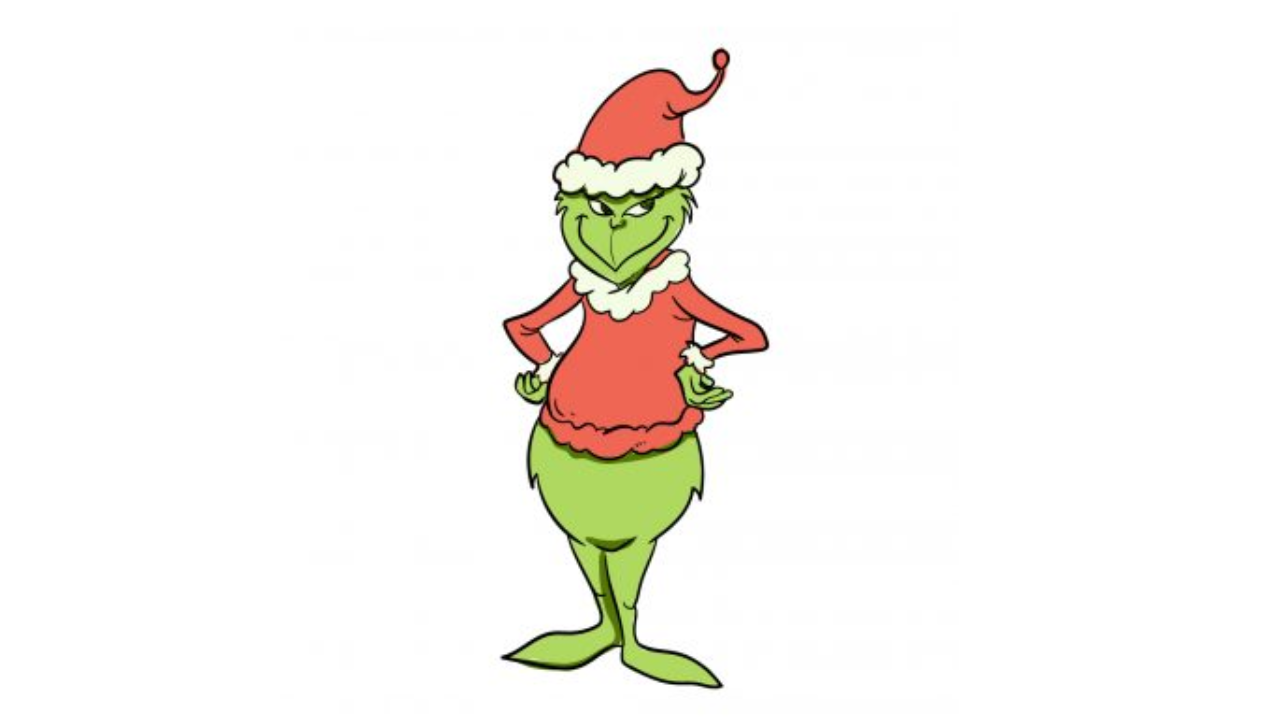
Draw The Grinch, an esteemed and prominent individual made by Dr. Seuss, has gotten the hearts of ages with his bad-tempered, at this point, beguiling person. With his specific components and wicked grin, drawing The Grinch can be an incredible creative endeavor. Whether you're a beginner or a cultivated specialist, this one small step-at-a-time guide will walk you through the strategy of restoring this eccentric individual on your paper.
Also, please check out our Printable Turkey coloring pages.
Materials You'll Need
Preceding hopping into the drawing framework, amass the essential materials:
Paper: Pick a perfect, smooth, preferably thicker paper to avoid any ink depleting or spreading of the pencil.
Pencils: Different pencils, going from light to dull, will help you achieve disguising and significance.
Eraser: A nice quality eraser is a principal for helping you slip up and adjust your drawing.
Fine-tipped Pen: You can use this for inking your last lines after you're content with your pencil sketch.
Concealing Devices: To add tone to your drawing, have tinted pencils, markers, or pastels arranged.
Stage 1: Key Standards
Start by drawing a horrendous circle for The Grinch's head. This circle shouldn't worry about being perfect; it's a standard for the degrees. Add a vertical line down the circle's convergence point and a level line across the middle. These lines will help you with setting the facial features unequivocally.
Stage 2: Structure the Face
Using the guidelines, sketch the system of The Grinch's face. His face is decently pear-shaped, with an obvious jaw. Partner the lines to make the condition of his head and jaw.
Stage 3: Draw the Eyes
The Grinch's eyes are a key component that conveys his personality. They are tight and slanted. Draw two almond-shaped eyes inside the upper piece of the face, leaving some space between them. Add a twisted line over each eye to exhibit his eyebrows, giving him his specific morose verbalization.
Stage 4: Nose and Mouth
The Grinch's nose is fundamental yet specific. Draw a little, round nose at the point of convergence of the face, to some degree under the eyes. For the mouth, draw a wide, twisted line that stretches starting with one side of the face and then onto the next. The places to pause should bend upwards to shape his disgusting grin.
Stage 5: Facial Nuances
Add the students to The Grinch's eyes. These should be little circles set towards the interior edges of the eyes. Draw his irises as additional unobtrusive circles inside the students. Then, add several crimps and kinks around his eyes and mouth to highlight his age and crankiness.
Stage 6: Ears and Fur
The Grinch's ears are extremely delayed and sharp. Draw them on either side of his head, basically over the eyes. As of now, start illustrating the fluffy surface of his face. Use short, twisted lines to make the misdirection of fur, zeroing in on the course of the lines - they should follow the states of his face.
Stage 7: Cap and Hair
The Grinch's cap is an essential piece of his look. Draw a wavy, thorned line that approaches the base edge of his cap, sitting on his head. Add two or three crimps and overlays to exhibit the surface. On top of the cap, depict his chaotic tuft of hair using inconsistent, twisted shapes.
Stage 8: Neck and Body
Interface the head to the body by characterizing a, to some degree, twisted limit. The Grinch has a slender neck and body, so recollect this while depicting. Draw his tight shoulders and arms loosening up from them. His hands are commonly held or forming a keen sign.
Stage 9: Outfit Nuances
The Grinch's clothing is fundamental and indisputable. Sketch his neck area and add a couple of buttons on his shirt. He now and again wears gloves, so depict his hands with twisted lines to show the fingers. Draw the belt around his waist and add a direct fasten.
Stage 10: Settle the Drawing
Whenever you're content with the pencil sketch, cross the lines with a fine-tipped pen to make an ideal and extraordinary design. This step is called inking, finishing up the attracting preceding overshadowing at whatever point is needed. Destroy any inconsequential pencil lines and smirch.
Stage 11: Changing it up
To add tone to your drawing, start with his green skin. Use various shades of green to make significance and perspective. Assort his eyes yellow and add a hint of white for highlights. His cap and clothing can be red or another happy assortment.
Stage 12: Covering and Elements
For a more three-layered look, add a covering to your drawing. Perceive the locales that would be in shadow, as under the cap, around the eyes, and under the jaw. Use a hazier pencil to hide these districts delicately. Add highlights with an eraser on the parts that get the light.
Conclusion:
Well done! You've drawn The Grinch, getting his morose yet beguiling exemplification. Review that cautious discipline achieves promising outcomes, so be empowered if your most significant undertaking isn't exactly as you envisioned. Keep refining your capacities, investigating various roads with different systems, and specifically, wrecking around with your creative trip! For more information, please Click Here!