How to Upgrade QuickBooks Software? Comprehensive Guide to the Latest Release
Upgrading your QuickBooks software is essential for optimal performance and security. This guide will walk you through the process to Upgrade QuickBooks Software to the Latest Release step-by-step. We'll cover everything from preparation to troubleshooting common issues during the upgrade.
Before You Begin
First, it's crucial to understand why upgrading QuickBooks is important. New versions often include bug fixes, security enhancements, and improved features. Moreover, staying up-to-date ensures compatibility with the latest operating systems and third-party integrations.
However, before diving into the upgrade process, there are several preparatory steps to take. These steps will help ensure a smooth transition to the latest QuickBooks release.
Step 1: Check System Requirements
First and foremost, verify that your computer meets the minimum system requirements for the new version. Visit the official Intuit website to find the most current specifications. These typically include details about operating systems, processor speeds, and memory requirements.
Additionally, check if your current QuickBooks version is compatible with a direct upgrade. Some older versions may require intermediate upgrades before reaching the latest release.
Step 2: Back Up Your Company File
Next, it's crucial to create a backup of your current QuickBooks company file. This precaution safeguards your data in case of any unforeseen issues during the upgrade. To do this, open your current QuickBooks version and navigate to the File menu. Then, select "Back Up Company" and follow the prompts to create a backup file.
Furthermore, consider creating multiple backups on different storage devices for added security. You might store one copy on an external hard drive and another in cloud storage.
Step 3: Download the Latest QuickBooks Release
Now that you're prepared, it's time to obtain the new QuickBooks version. Visit the official Intuit website and locate the download section for QuickBooks updates. Make sure to select the correct version for your needs (Pro, Premier, or Enterprise).
If you have a valid license, you may be eligible for a free upgrade. Otherwise, you'll need to purchase the new version before proceeding with the download.
Step 4: Close All Running Programs
Before initiating the installation, close all open programs on your computer. This includes QuickBooks itself and any other applications that might interfere with the installation process. Doing so ensures that the upgrade can access all necessary files without conflicts.
Additionally, temporarily disable your antivirus software to prevent any potential interference during installation. Remember to re-enable it once the upgrade is complete.
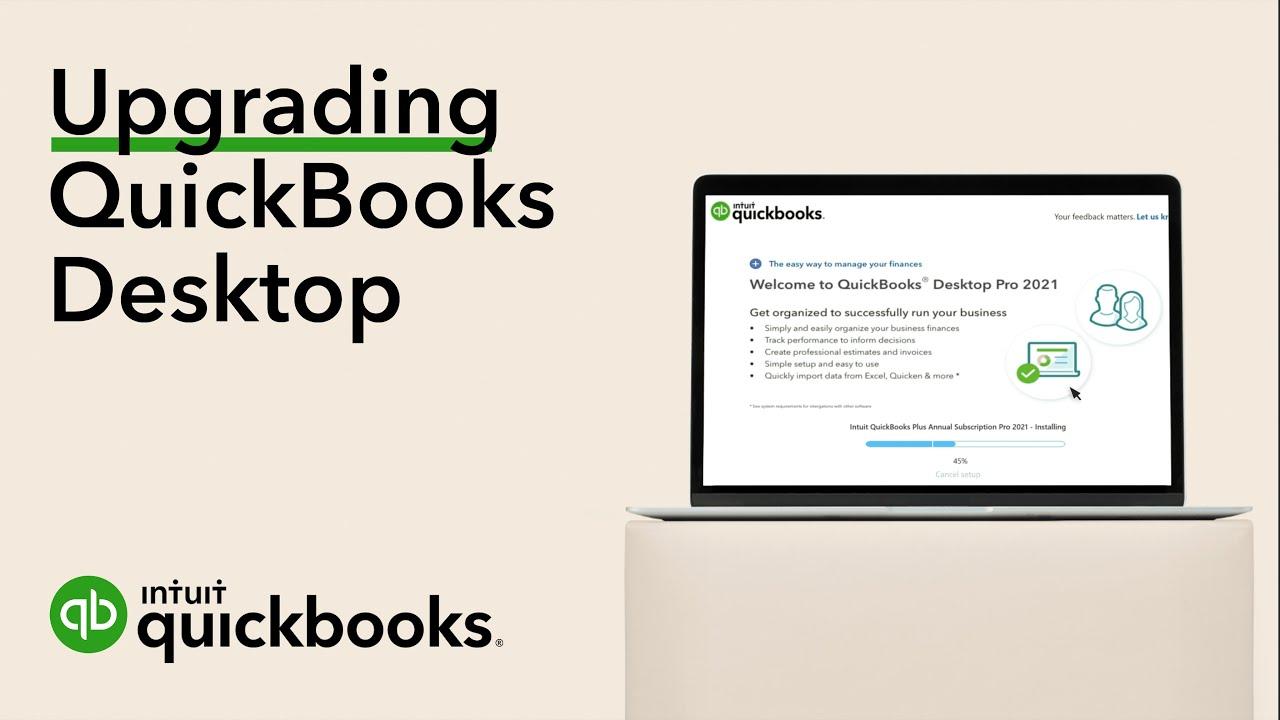
Step 5: Run the Installation File
Locate the downloaded installation file and double-click to run it. Follow the on-screen instructions to begin the installation process. You may be prompted to enter your license information during this step.
The installer will guide you through several options, such as choosing the installation location. In most cases, the default settings are suitable for most users.
Step 6: Choose Upgrade Options
During the installation, you'll be presented with upgrade options for your company file. Select the option to upgrade your existing company file to the new version. The installer will then locate your current file and prepare it for upgrade.
If you have multiple company files, you may need to repeat this process for each one. Make sure to have all necessary file locations and passwords ready.
Step 7: Complete the Installation
Follow the remaining prompts to complete the installation process. This may include agreeing to terms and conditions and selecting additional features or services. Once finished, the installer will finalize the upgrade and prepare QuickBooks for first use.
After installation, you may be prompted to restart your computer. It's recommended to do so to ensure all changes take effect properly.
Step 8: Verify the Upgrade
After restarting, open the new version of QuickBooks to verify the upgrade was successful. Check that your company file opens correctly and that all data appears to be intact. Navigate through different sections to ensure everything is functioning as expected.
If you encounter any issues at this stage, don't panic. There are several troubleshooting steps you can take, which we'll cover later in this guide.
Step 9: Update Your License Information
If you've purchased a new license for the latest release, you'll need to update your information. Go to the Help menu and select "Manage My License." Follow the prompts to enter your new license details and activate the software.
This step is crucial for ensuring you have full access to all features and future updates. It also helps Intuit provide better support if needed.
Step 10: Install the Latest Patches
Even after upgrading to the latest release, there may be additional patches available. These minor updates often address newly discovered issues or provide small improvements. To check for patches, go to the Help menu and select "Update QuickBooks Desktop."
Make it a habit to check for and install these patches regularly. They help maintain the security and stability of your QuickBooks software.
Step 11: Familiarize Yourself with New Features
Take some time to explore the new features and improvements in the latest release. Intuit often provides release notes or tutorials highlighting significant changes. Understanding these updates can help you make the most of your upgraded software.
Consider watching tutorial videos or attending webinars offered by Intuit to learn about new functionalities. This investment of time can lead to increased productivity in the long run.
Step 12: Update Integrated Applications
If you use any third-party applications that integrate with QuickBooks, check their compatibility. Some may require updates to work with the new QuickBooks version. Visit the websites of these applications or contact their support teams for guidance.
Updating integrated applications ensures a seamless workflow and prevents any disruptions to your business processes. It's an often-overlooked step that can save headaches down the line.
Troubleshooting Common Upgrade Issues
Despite careful preparation, you may encounter some issues during or after the upgrade process. Here are some common problems and their solutions:
- Upgrade Error Messages: If you receive error messages during the upgrade, note the exact wording. Then, search the QuickBooks support website or community forums for specific solutions.
- Missing Data: If some data appears to be missing after the upgrade, try opening your backup file. Compare it with the upgraded file to identify any discrepancies.
- Performance Issues: If QuickBooks seems slower after the upgrade, try rebuilding your company file. This process can often resolve performance problems.
- Compatibility Problems: If you're having trouble with third-party integrations, check for updates. Contact the application's support team if issues persist.
- License Activation Failures: If you can't activate your license, verify your internet connection. Then, try entering the license information manually instead of copy-pasting.
Remember, Intuit offers various support options if you can't resolve issues on your own. These include phone support, live chat, and community forums.
Maintaining Your Upgraded QuickBooks
After successfully upgrading, it's important to maintain your QuickBooks software for optimal performance. Here are some best practices to follow:
- Regular Backups: Continue to back up your company file regularly. This protects your data from potential loss or corruption.
- Routine Maintenance: Use built-in tools like Verify and Rebuild Data to maintain file integrity. Schedule these tasks during off-hours to minimize disruption.
- Stay Updated: Install patches and updates as they become available. These often include important security fixes and performance improvements.
- Monitor Performance: Keep an eye on QuickBooks' performance. If you notice slowdowns, investigate potential causes promptly.
- User Training: If you have multiple users, consider providing training on new features. This ensures everyone can take full advantage of the upgraded software.
Conclusion
Upgrading QuickBooks to the latest release doesn't have to be daunting. By following this comprehensive guide, you can ensure a smooth transition. Remember to prepare thoroughly, follow each step carefully, and address any issues promptly.
Regular upgrades keep your financial software secure, efficient, and feature-rich. They help you stay compliant with changing regulations and take advantage of new capabilities. With proper planning and execution, you can leverage the full power of QuickBooks for your business.
Don't hesitate to seek help if you encounter difficulties during the upgrade process. Intuit provides extensive resources and support options to assist you. With persistence and the right approach, you'll soon be enjoying the benefits of the latest QuickBooks release.