

Are you here to learn how to set up Cricut Explore Air 2 on laptop? If so, you are in the right place! In this blog, I will teach you the simplest method to set up your Cricut machine. By learning with my method, you can master setting up a Cricut cutting machine.
Do you know a secret? By learning this method, you can set up any Cricut machine, no matter which model you are using, as the steps for setting up the machine are the same for each model.
Through this post, you will first learn how to check system compatibility and then set up the Cricut machine on a Mac laptop. Yes, this write-up is mainly for Mac users who want to set up their Cricut on their MacBook. Let’s get started.
Step 1: Check MacBook Compatibility
Before you know how to set up Cricut Explore Air 2 on laptop, you must know your system requirements for your Mac. It will help you run the Cricut software smoothly without any hassle. Let’s see and check the system requirements for Mac given below:
- macOS 11 or later
- CPU 1.83 GHz
- 2 GB free disk space
- USB port in laptop or Bluetooth built-in
- Display resolutions should be 1024px x 768px
Step 2: Download Cricut Design Space App
Once you have checked the system requirements, you have to download the Cricut Design Space. Here’s how you can download the app on your Mac laptop or computer:
- Open the internet browser on your MacBook and go to design.cricut.com.
- Then, mark the checkbox to accept Cricut’s Terms of Use and Privacy Policy.
- After that, you have to select the Download button and wait until it completes the download.
- Next, you have to install the Cricut Design Space now.
- To install it, you need to open the Downloads folder where your Cricut was downloaded. The file has been saved as a .dmg file.
- Double-click on the .dmg file to open it and install it on Mac.
- Also, you have to drag the Cricut logo icon to the Applications folder icon to finish the installation.
- Once you have installed, you will need to sign up or sign in using your Cricut ID.
Step 3: Setup Your Cricut Product
Below, I will guide you on how to set up Cricut Explore Air 2 on laptop. Go through each step carefully and get started with your machine as soon as possible. Let’s get into it:
- Navigate to the search bar on your taskbar and hit on the Windows logo icon.
- Then, enter Cricut Design Space and hit Enter to open the app.
- Once you have opened the Cricut app, you will want to select the option Product Setup.
- Afterward, you will have to create a Cricut ID or log in if you have already done so.
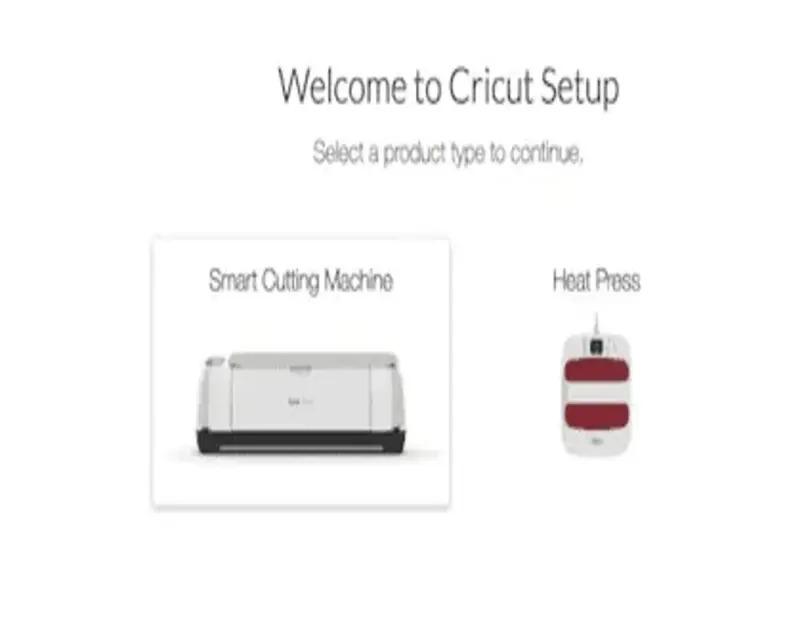
- Next, you will find the next screen where you should choose a Smart Cutting Machine.

- Now, choose the Cricut machine model.
- Finally, you need to follow the remaining steps.
Step 4: Connect Cricut to Your Laptop via Bluetooth
Wait, although the third step discusses how to set up Cricut Explore Air 2 on laptop, the set up will not be done yet. After finishing the above steps, you have to set up Cricut Explore Air 2 Bluetooth on Mac by following the steps in the section below:
- Power on your Mac and also turn on your Cricut product.
- Then, you need to go to your Mac’s Apple menu.
- Afterward, proceed ahead to select System Settings.
- After that, you need to look into the Bluetooth option.
- Now, turn on the Bluetooth.
- Afterward, you need to wait until you find a Cricut machine in the available list.
- Once your Mac’s Bluetooth detects the machine, you have to click on it and hit Pair.
FAQs
Question 1: Why is my Cricut Explore Air 2 not connecting to my laptop?
Answer: There could be several possible reasons for this issue. However, if this occurs again and again, then check the following points:
- Check your Bluetooth, see if your Cricut is switched on, and keep your laptop and Cricut nearby each other.
- Confirm if there is a physical barrier. If the device is already connected to your Bluetooth, you need to disconnect it.
- Unpair and re-pair: You have to unpair the Cricut machine and then pair it again to resolve the issue.
Question 2: How to connect my Cricut Explore Air 2 to Mac via USB?
Answer: In order to connect, you have to connect your Cricut to your Mac using a USB cord. Take a cord and insert it right into your Cricut’s USB port and then insert the other end to your Mac’s USB port. Once connected, you have to follow the rest of the steps on your Mac to set up your Cricut Explore machine easily and quickly.
Question 3: Is Cricut machine setup same for all devices?
Answer: Setting up a Cricut machine can vary from device to device. For example, connecting Cricut to different devices using Bluetooth is very different for each device. Similarly, when you download the Cricut Design Space on these devices, the steps are quite different from each other. So, make sure you follow the steps for the mentioned device.
Final Words
In this blog, you have understood how to set up Cricut Explore Air 2 on laptop such as a Mac computer. The steps can be daunting for beginners, but I would suggest there is nothing to worry about, as all the steps are easy to understand and follow. With this guide, you will be able to complete the Cricut Explore setup in no time. All you need is the right guide or tutorial, and this one is the best for you!
Source: how to set up Cricut Explore Air 2 on laptop?
Visit here to know More: Cricut.com/setup