LED Strip Light Manufacturers: Innovating Lighting Solutions for a Brighter Future
By Glow Green Energy Limited
In recent years, LED strip lights have taken the lighting industry by storm due to their versatility, energy efficiency, and innovative design options. These lights are transforming homes, offices, and outdoor spaces by offering a customizable lighting experience. At Glow Green Energy Limited, we pride ourselves on being a leading manufacturer of high-quality LED strip lights, bringing sustainable, bright, and flexible lighting solutions to our customers.
What Are LED Strip Lights?
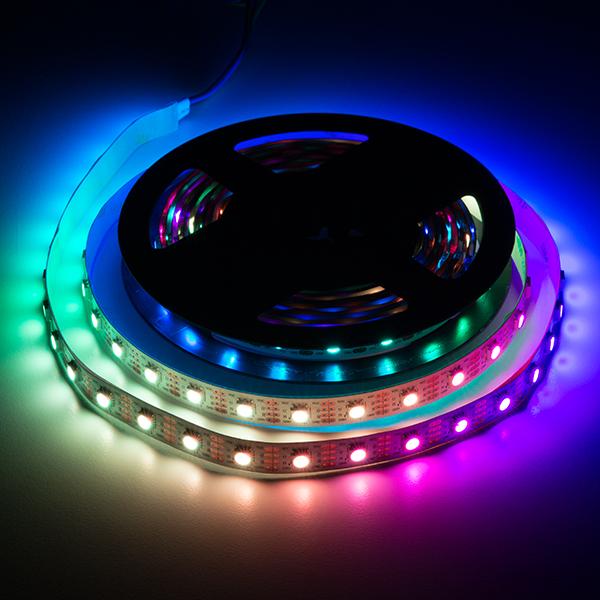
LED strip lights are flexible circuit boards embedded with small light-emitting diodes (LEDs). These lights come in various colors, brightness levels, and lengths, making them highly adaptable to various applications. Whether you're looking to light up a living room, enhance the ambiance in a restaurant, or create dynamic outdoor lighting, LED strip lights can meet your needs.
Key Features of LED Strip Lights:
• Energy Efficiency: LEDs use far less energy than traditional lighting options, helping to reduce power consumption.
• Customization: Available in different colors, intensities, and lengths, they allow for tailored lighting designs.
• Flexibility: Their flexible nature makes them ideal for both straight and curved surfaces.
• Long Lifespan: LED strip lights last significantly longer than traditional lighting options, reducing the need for frequent replacements.
Why Choose Glow Green Energy Limited?
As one of the top LED strip light manufacturers, Glow Green Energy Limited is committed to providing customers with top-notch products designed to meet their unique lighting needs. Here’s why we stand out:
1. High-Quality Manufacturing Standards
Our LED strip lights are manufactured with precision, using high-quality materials to ensure durability and performance. We rigorously test each product to ensure it meets safety standards and offers long-lasting performance.
2. Energy-Efficient Technology
With rising concerns about energy consumption and its environmental impact, we focus on producing energy-efficient LED strip lights that consume significantly less electricity while providing bright and vibrant illumination. Our products help businesses and homeowners reduce their carbon footprint and energy bills.
3. Customization and Flexibility
At Glow Green Energy Limited, we understand that every lighting project is unique. Our LED strip lights are available in various colors, lengths, and brightness levels, allowing you to create personalized lighting experiences. Whether you want cool white lights for a professional setting or vibrant RGB lights for a party atmosphere, we have the perfect solution.
Applications of LED Strip Lights
LED strip lights have a wide range of applications, making them a popular choice for both commercial and residential projects. Below are some common uses:
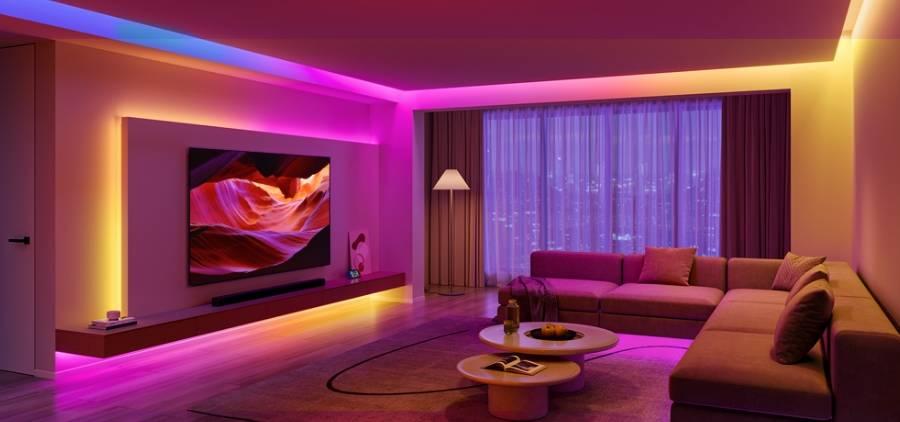
1. Home Lighting
LED strip lights can transform the ambiance of any room in your home. They can be installed under cabinets, along staircases, or around windows to create a soft, warm glow. They are also a popular choice for accent lighting in living rooms and bedrooms, giving you control over the brightness and color to match your mood.
2. Office and Commercial Spaces
For businesses, LED strip lights offer energy-efficient lighting solutions that are both functional and visually appealing. They can be used to highlight architectural features, illuminate conference rooms, or create vibrant lighting in retail spaces. Their versatility and energy-saving properties make them a great choice for commercial use.
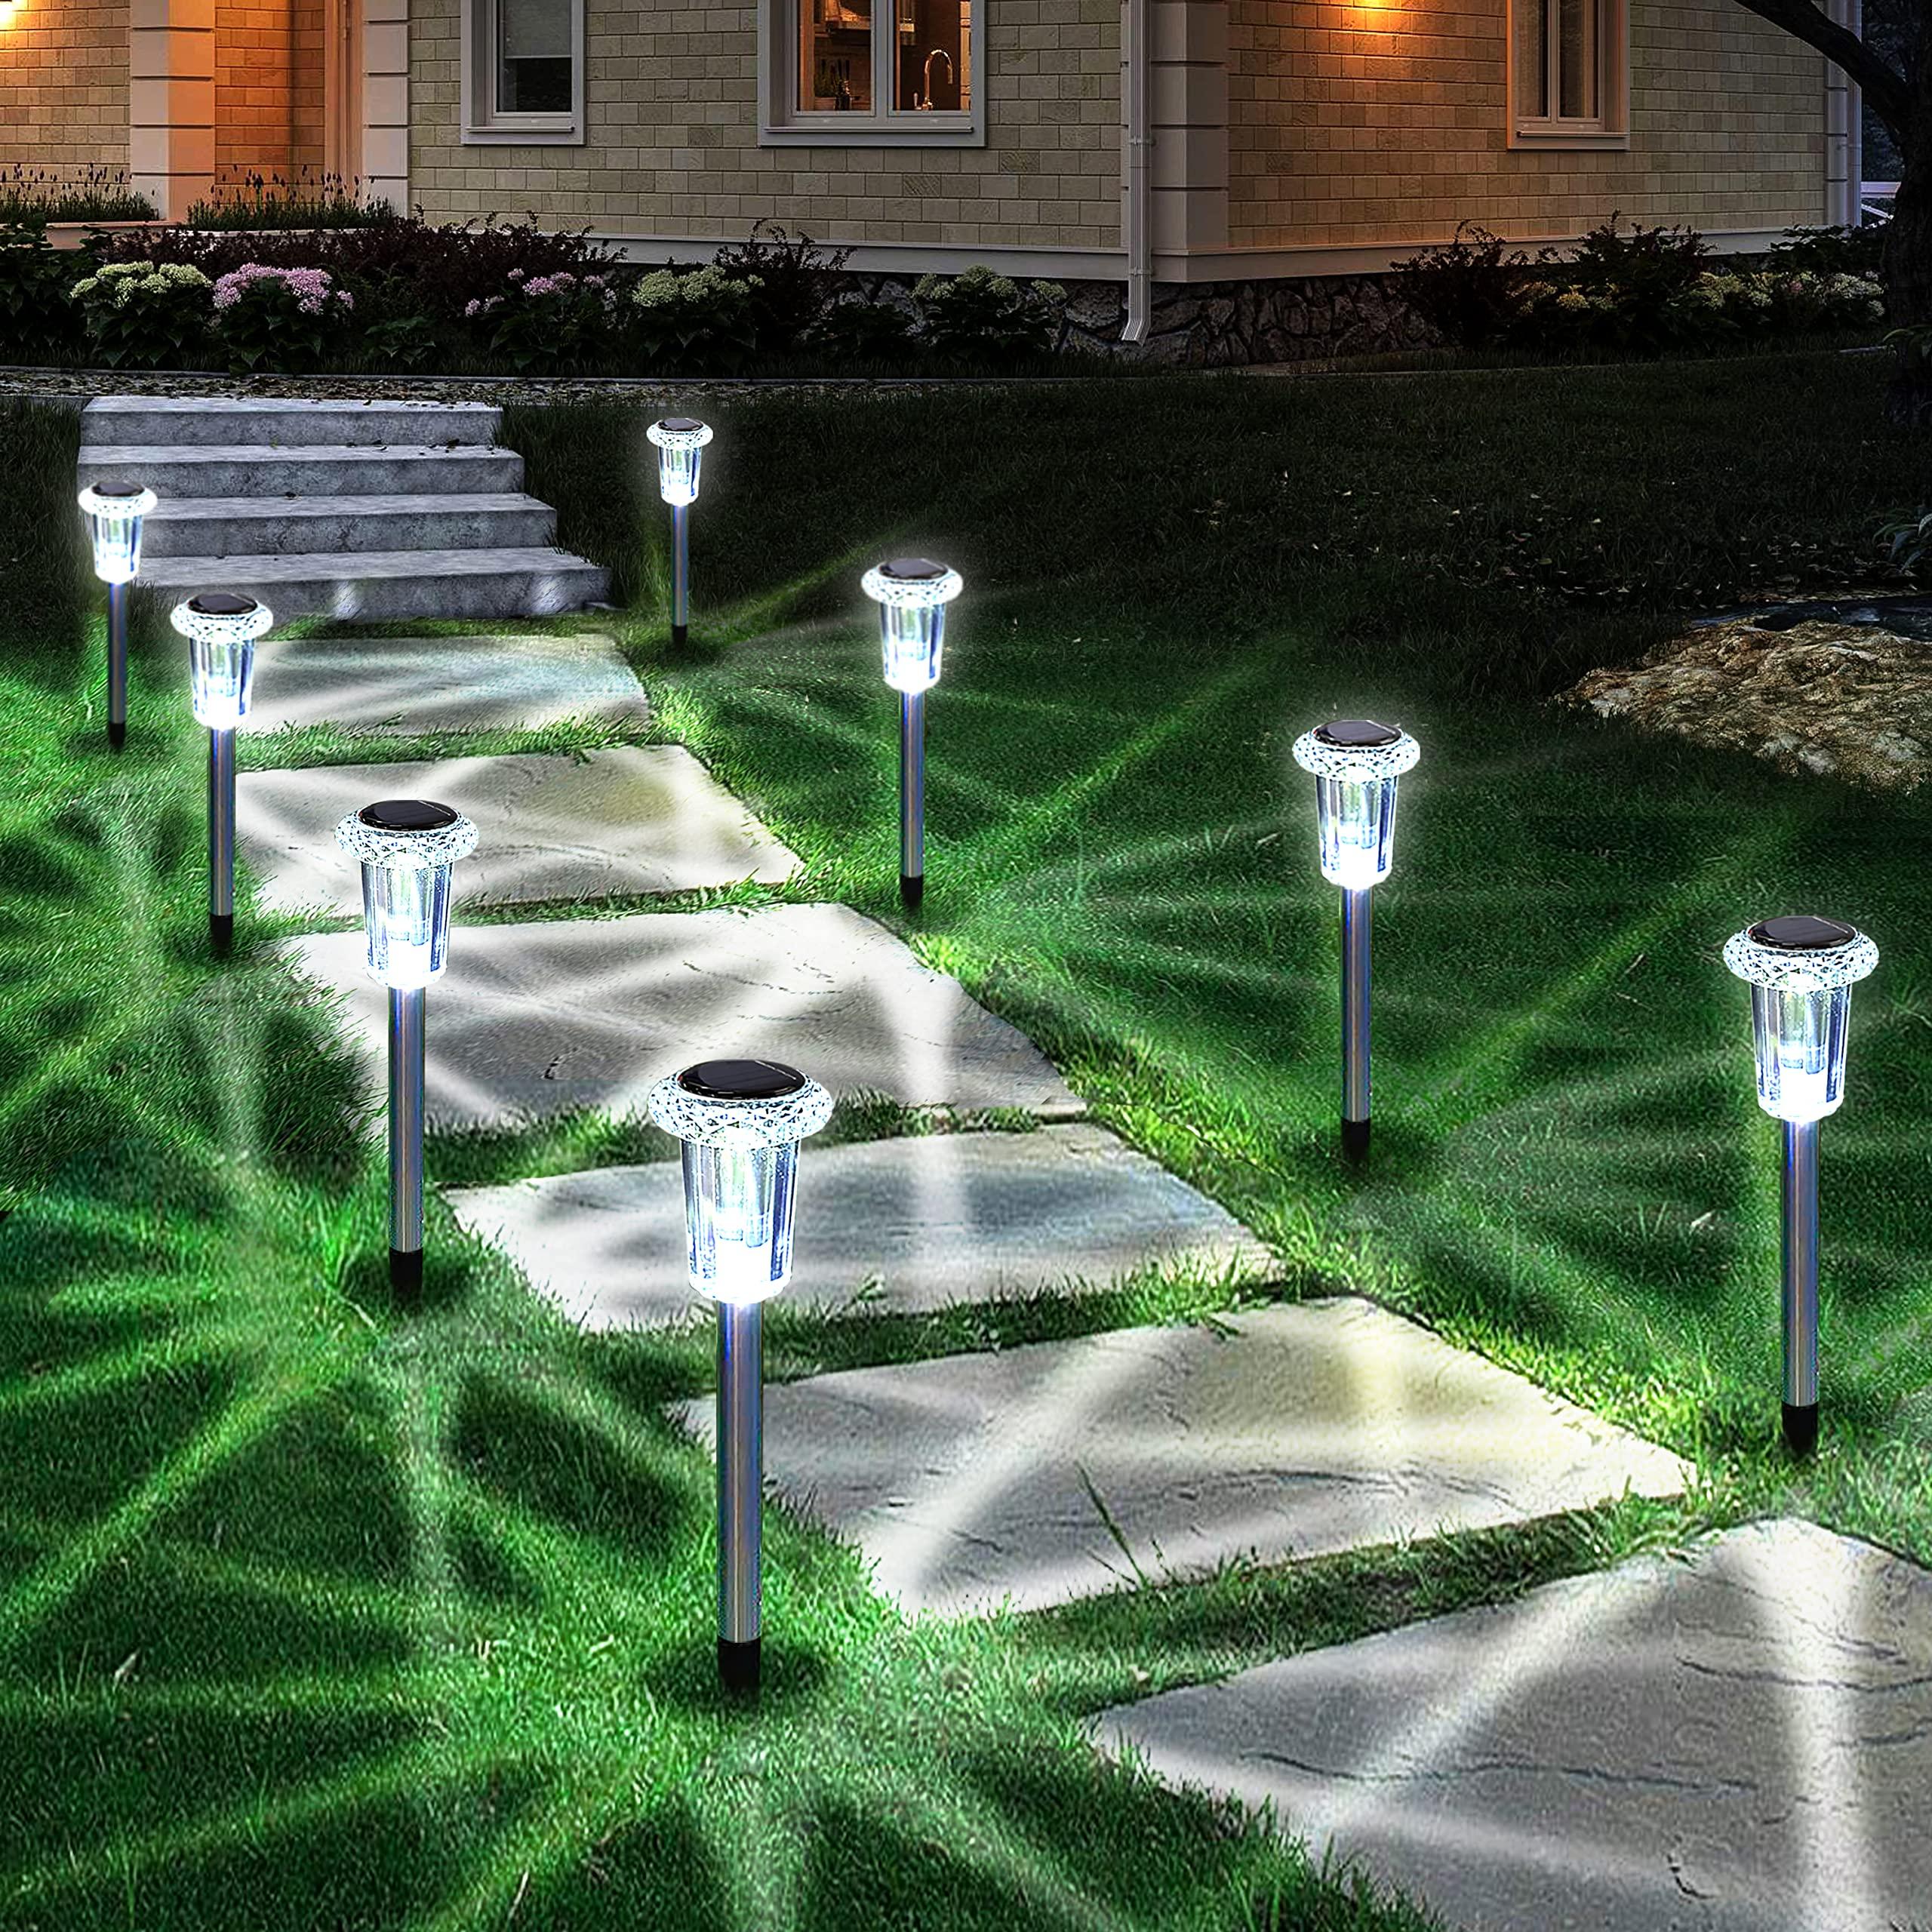
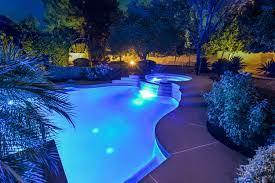
3. Outdoor Lighting
LED strip lights are durable and weather-resistant, making them ideal for outdoor applications. They can be used to light up gardens, patios, pathways, and outdoor seating areas. The flexibility and long lifespan of LED strip lights make them perfect for creating beautiful, long-lasting outdoor lighting installations.
4. Automotive and Industrial Uses
In addition to residential and commercial applications, LED strip lights are often used in the automotive and industrial sectors. They can be installed in cars to create ambient lighting or used in factories and warehouses for efficient, high-visibility lighting solutions.
The Future of Lighting: LED Strip Lights
As LED technology continues to advance, the potential for LED strip lights grows even further. From smart lighting systems that can be controlled remotely to eco-friendly designs that minimize environmental impact, the future of lighting is undoubtedly focused on sustainability and innovation.
At Glow Green Energy Limited, we are at the forefront of this lighting revolution. Our LED strip lights are not only designed for efficiency and durability but also to inspire creativity in the way spaces are illuminated. As lighting technology evolves, we remain committed to offering products that align with the latest trends while maintaining the highest quality.
Conclusion: Illuminate Your Space with Glow Green Energy
Whether you're looking to upgrade the lighting in your home, office, or outdoor space, LED strip lights from Glow Green Energy Limited provide the perfect solution. With energy efficiency, customizable designs, and high-quality construction, our LED strip lights are designed to meet all your lighting needs.
By choosing us as your LED strip light manufacturer, you're investing in sustainable, innovative, and flexible lighting solutions that will enhance the beauty and functionality of any space.
For more information about our LED strip lights or to get a customized solution, contact Glow Green Energy Limited today!
This blog highlights the versatility and benefits of LED strip lights, emphasizes Glow Green Energy's commitment to quality, and outlines various applications for their products.
https://www.glowgreen.in/streetlight-series.php
By Glow Green Energy Limited
In recent years, LED strip lights have taken the lighting industry by storm due to their versatility, energy efficiency, and innovative design options. These lights are transforming homes, offices, and outdoor spaces by offering a customizable lighting experience. At Glow Green Energy Limited, we pride ourselves on being a leading manufacturer of high-quality LED strip lights, bringing sustainable, bright, and flexible lighting solutions to our customers.
What Are LED Strip Lights?
LED strip lights are flexible circuit boards embedded with small light-emitting diodes (LEDs). These lights come in various colors, brightness levels, and lengths, making them highly adaptable to various applications. Whether you're looking to light up a living room, enhance the ambiance in a restaurant, or create dynamic outdoor lighting, LED strip lights can meet your needs.
Key Features of LED Strip Lights:
• Energy Efficiency: LEDs use far less energy than traditional lighting options, helping to reduce power consumption.
• Customization: Available in different colors, intensities, and lengths, they allow for tailored lighting designs.
• Flexibility: Their flexible nature makes them ideal for both straight and curved surfaces.
• Long Lifespan: LED strip lights last significantly longer than traditional lighting options, reducing the need for frequent replacements.
Why Choose Glow Green Energy Limited?
As one of the top LED strip light manufacturers, Glow Green Energy Limited is committed to providing customers with top-notch products designed to meet their unique lighting needs. Here’s why we stand out:
1. High-Quality Manufacturing Standards
Our LED strip lights are manufactured with precision, using high-quality materials to ensure durability and performance. We rigorously test each product to ensure it meets safety standards and offers long-lasting performance.
2. Energy-Efficient Technology
With rising concerns about energy consumption and its environmental impact, we focus on producing energy-efficient LED strip lights that consume significantly less electricity while providing bright and vibrant illumination. Our products help businesses and homeowners reduce their carbon footprint and energy bills.
3. Customization and Flexibility
At Glow Green Energy Limited, we understand that every lighting project is unique. Our LED strip lights are available in various colors, lengths, and brightness levels, allowing you to create personalized lighting experiences. Whether you want cool white lights for a professional setting or vibrant RGB lights for a party atmosphere, we have the perfect solution.
Applications of LED Strip Lights
LED strip lights have a wide range of applications, making them a popular choice for both commercial and residential projects. Below are some common uses:
1. Home Lighting
LED strip lights can transform the ambiance of any room in your home. They can be installed under cabinets, along staircases, or around windows to create a soft, warm glow. They are also a popular choice for accent lighting in living rooms and bedrooms, giving you control over the brightness and color to match your mood.
2. Office and Commercial Spaces
For businesses, LED strip lights offer energy-efficient lighting solutions that are both functional and visually appealing. They can be used to highlight architectural features, illuminate conference rooms, or create vibrant lighting in retail spaces. Their versatility and energy-saving properties make them a great choice for commercial use.
3. Outdoor Lighting
LED strip lights are durable and weather-resistant, making them ideal for outdoor applications. They can be used to light up gardens, patios, pathways, and outdoor seating areas. The flexibility and long lifespan of LED strip lights make them perfect for creating beautiful, long-lasting outdoor lighting installations.
4. Automotive and Industrial Uses
In addition to residential and commercial applications, LED strip lights are often used in the automotive and industrial sectors. They can be installed in cars to create ambient lighting or used in factories and warehouses for efficient, high-visibility lighting solutions.
The Future of Lighting: LED Strip Lights
As LED technology continues to advance, the potential for LED strip lights grows even further. From smart lighting systems that can be controlled remotely to eco-friendly designs that minimize environmental impact, the future of lighting is undoubtedly focused on sustainability and innovation.
At Glow Green Energy Limited, we are at the forefront of this lighting revolution. Our LED strip lights are not only designed for efficiency and durability but also to inspire creativity in the way spaces are illuminated. As lighting technology evolves, we remain committed to offering products that align with the latest trends while maintaining the highest quality.
Conclusion: Illuminate Your Space with Glow Green Energy
Whether you're looking to upgrade the lighting in your home, office, or outdoor space, LED strip lights from Glow Green Energy Limited provide the perfect solution. With energy efficiency, customizable designs, and high-quality construction, our LED strip lights are designed to meet all your lighting needs.
By choosing us as your LED strip light manufacturer, you're investing in sustainable, innovative, and flexible lighting solutions that will enhance the beauty and functionality of any space.
For more information about our LED strip lights or to get a customized solution, contact Glow Green Energy Limited today!
This blog highlights the versatility and benefits of LED strip lights, emphasizes Glow Green Energy's commitment to quality, and outlines various applications for their products.
https://www.glowgreen.in/streetlight-series.php
LED Strip Light Manufacturers: Innovating Lighting Solutions for a Brighter Future
By Glow Green Energy Limited
In recent years, LED strip lights have taken the lighting industry by storm due to their versatility, energy efficiency, and innovative design options. These lights are transforming homes, offices, and outdoor spaces by offering a customizable lighting experience. At Glow Green Energy Limited, we pride ourselves on being a leading manufacturer of high-quality LED strip lights, bringing sustainable, bright, and flexible lighting solutions to our customers.
What Are LED Strip Lights?
LED strip lights are flexible circuit boards embedded with small light-emitting diodes (LEDs). These lights come in various colors, brightness levels, and lengths, making them highly adaptable to various applications. Whether you're looking to light up a living room, enhance the ambiance in a restaurant, or create dynamic outdoor lighting, LED strip lights can meet your needs.
Key Features of LED Strip Lights:
• Energy Efficiency: LEDs use far less energy than traditional lighting options, helping to reduce power consumption.
• Customization: Available in different colors, intensities, and lengths, they allow for tailored lighting designs.
• Flexibility: Their flexible nature makes them ideal for both straight and curved surfaces.
• Long Lifespan: LED strip lights last significantly longer than traditional lighting options, reducing the need for frequent replacements.
Why Choose Glow Green Energy Limited?
As one of the top LED strip light manufacturers, Glow Green Energy Limited is committed to providing customers with top-notch products designed to meet their unique lighting needs. Here’s why we stand out:
1. High-Quality Manufacturing Standards
Our LED strip lights are manufactured with precision, using high-quality materials to ensure durability and performance. We rigorously test each product to ensure it meets safety standards and offers long-lasting performance.
2. Energy-Efficient Technology
With rising concerns about energy consumption and its environmental impact, we focus on producing energy-efficient LED strip lights that consume significantly less electricity while providing bright and vibrant illumination. Our products help businesses and homeowners reduce their carbon footprint and energy bills.
3. Customization and Flexibility
At Glow Green Energy Limited, we understand that every lighting project is unique. Our LED strip lights are available in various colors, lengths, and brightness levels, allowing you to create personalized lighting experiences. Whether you want cool white lights for a professional setting or vibrant RGB lights for a party atmosphere, we have the perfect solution.
Applications of LED Strip Lights
LED strip lights have a wide range of applications, making them a popular choice for both commercial and residential projects. Below are some common uses:
1. Home Lighting
LED strip lights can transform the ambiance of any room in your home. They can be installed under cabinets, along staircases, or around windows to create a soft, warm glow. They are also a popular choice for accent lighting in living rooms and bedrooms, giving you control over the brightness and color to match your mood.
2. Office and Commercial Spaces
For businesses, LED strip lights offer energy-efficient lighting solutions that are both functional and visually appealing. They can be used to highlight architectural features, illuminate conference rooms, or create vibrant lighting in retail spaces. Their versatility and energy-saving properties make them a great choice for commercial use.
3. Outdoor Lighting
LED strip lights are durable and weather-resistant, making them ideal for outdoor applications. They can be used to light up gardens, patios, pathways, and outdoor seating areas. The flexibility and long lifespan of LED strip lights make them perfect for creating beautiful, long-lasting outdoor lighting installations.
4. Automotive and Industrial Uses
In addition to residential and commercial applications, LED strip lights are often used in the automotive and industrial sectors. They can be installed in cars to create ambient lighting or used in factories and warehouses for efficient, high-visibility lighting solutions.
The Future of Lighting: LED Strip Lights
As LED technology continues to advance, the potential for LED strip lights grows even further. From smart lighting systems that can be controlled remotely to eco-friendly designs that minimize environmental impact, the future of lighting is undoubtedly focused on sustainability and innovation.
At Glow Green Energy Limited, we are at the forefront of this lighting revolution. Our LED strip lights are not only designed for efficiency and durability but also to inspire creativity in the way spaces are illuminated. As lighting technology evolves, we remain committed to offering products that align with the latest trends while maintaining the highest quality.
Conclusion: Illuminate Your Space with Glow Green Energy
Whether you're looking to upgrade the lighting in your home, office, or outdoor space, LED strip lights from Glow Green Energy Limited provide the perfect solution. With energy efficiency, customizable designs, and high-quality construction, our LED strip lights are designed to meet all your lighting needs.
By choosing us as your LED strip light manufacturer, you're investing in sustainable, innovative, and flexible lighting solutions that will enhance the beauty and functionality of any space.
For more information about our LED strip lights or to get a customized solution, contact Glow Green Energy Limited today!
This blog highlights the versatility and benefits of LED strip lights, emphasizes Glow Green Energy's commitment to quality, and outlines various applications for their products.
https://www.glowgreen.in/streetlight-series.php
0 Comments
0 Shares
1K Views
0 Reviews