LED Downlights: Energy-Efficient Illumination for Modern Spaces by Glow Green Energy Limited
In the world of lighting, LED downlights are revolutionizing how homes, offices, and commercial spaces are illuminated. Offering high efficiency, longevity, and versatility, they are quickly becoming a go-to solution for energy-conscious consumers. At Glow Green Energy Limited, we are proud to provide a wide range of LED downlights that blend innovative technology with sleek design, catering to both functional and aesthetic needs.
What Are LED Downlights?
LED downlights are recessed lighting fixtures that are installed into the ceiling, providing downward illumination. Unlike traditional incandescent or CFL lights, LED (Light Emitting Diode) technology is highly energy-efficient, consuming significantly less power while offering brighter, clearer light. This makes them ideal for a variety of settings, including homes, offices, hotels, and retail spaces.
Key Features of LED Downlights by Glow Green Energy Limited
At Glow Green Energy Limited, we are committed to offering LED downlights with the latest features and innovations. Here’s what sets our downlights apart:
• Energy Efficiency: Our downlights use less electricity than conventional lighting solutions, helping to reduce energy consumption and lower utility bills.
• Long Lifespan: LEDs typically last up to 50,000 hours, making them an excellent long-term investment.
• Minimal Heat Emission: Unlike incandescent bulbs, which waste energy by emitting heat, LED downlights remain cool, increasing safety and reducing the need for air conditioning.
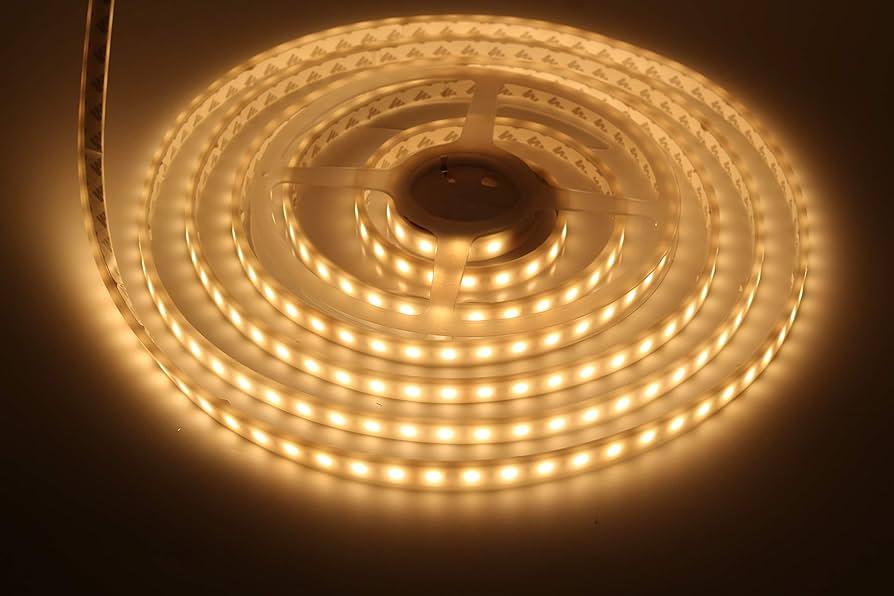
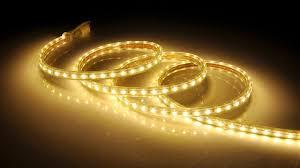
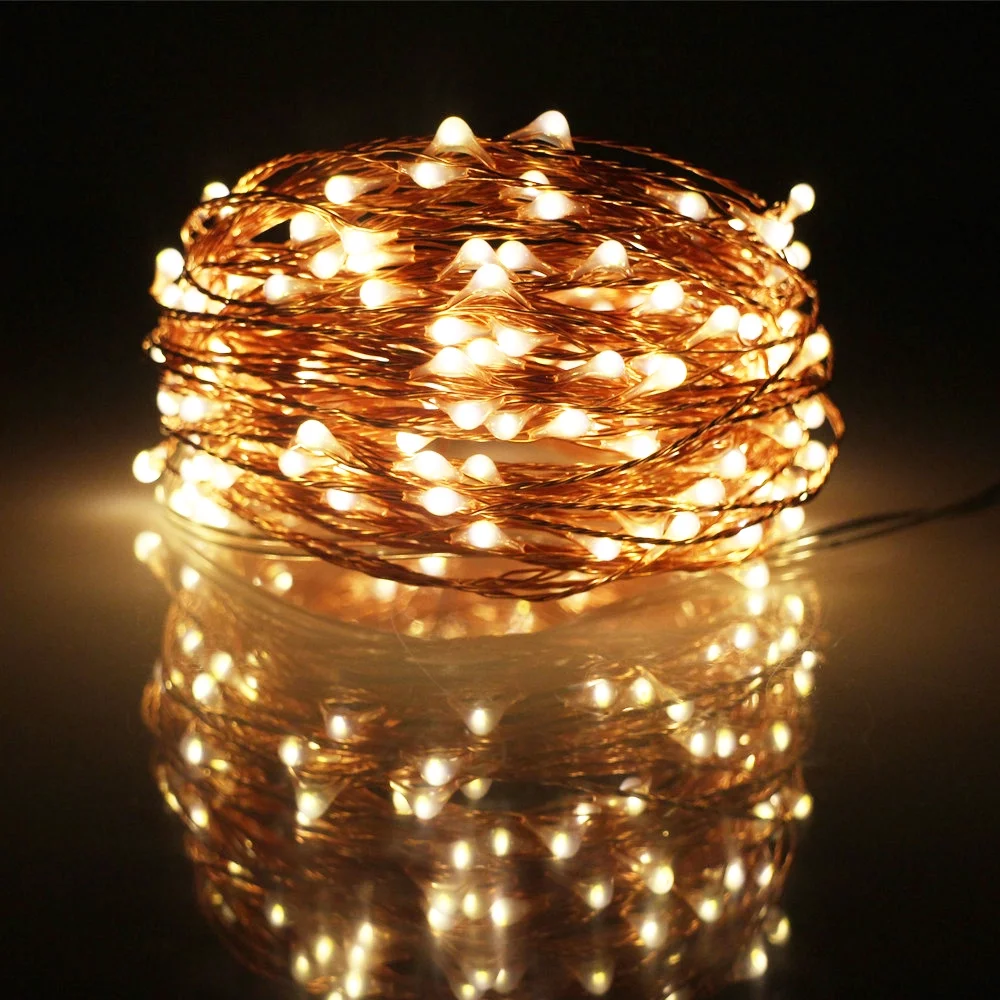
• Customizable Lighting: Choose from a variety of brightness levels (measured in lumens) and color temperatures to create the perfect ambiance for any space.
• Eco-Friendly: LED lighting contains no harmful materials like mercury, making it safer for the environment.
Applications of LED Downlights
One of the primary reasons LED downlights are so popular is their versatility. They can be used in a wide range of settings to enhance both functionality and aesthetics. Here are some of the key areas where LED downlights excel:
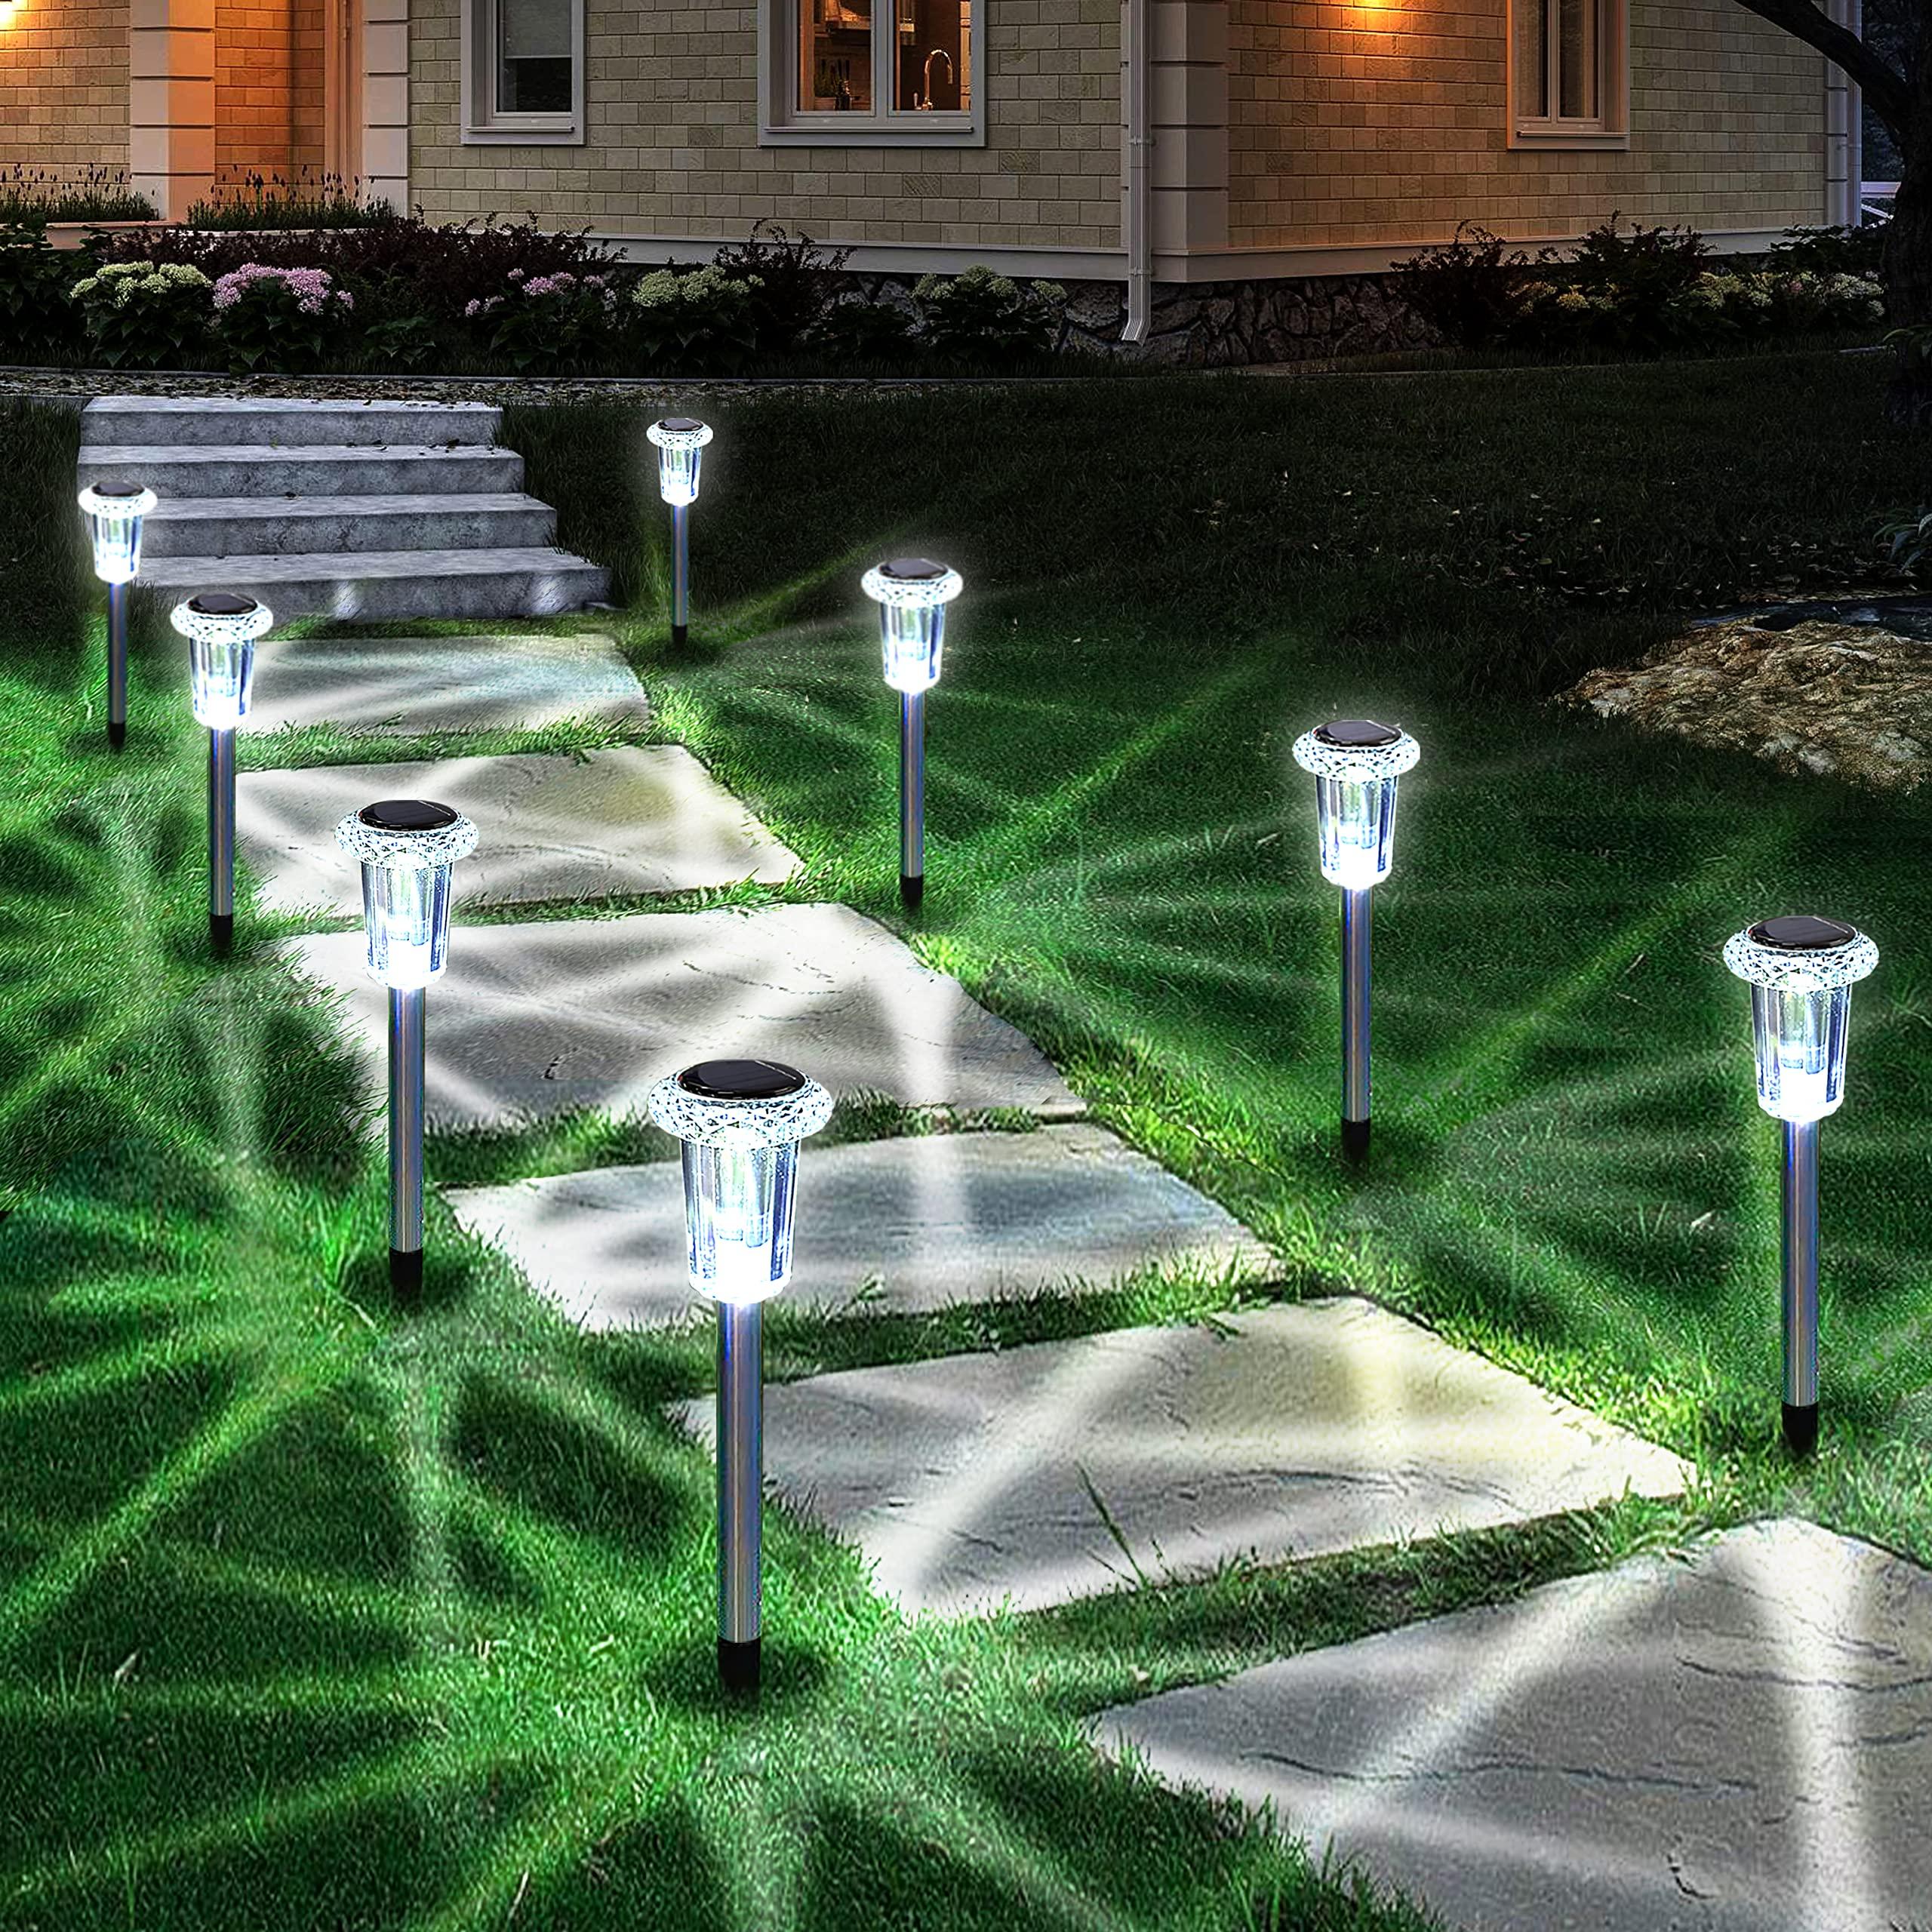
1. Residential Spaces: From kitchens and living rooms to bathrooms and hallways, LED downlights offer clean, focused lighting that enhances the overall appearance of any room. With dimming options, they can create the perfect ambiance for relaxing or entertaining.
2. Offices and Commercial Buildings: In work environments, LED downlights provide bright, flicker-free illumination, reducing eye strain and boosting productivity. Their energy-efficient design helps businesses cut down on operational costs.
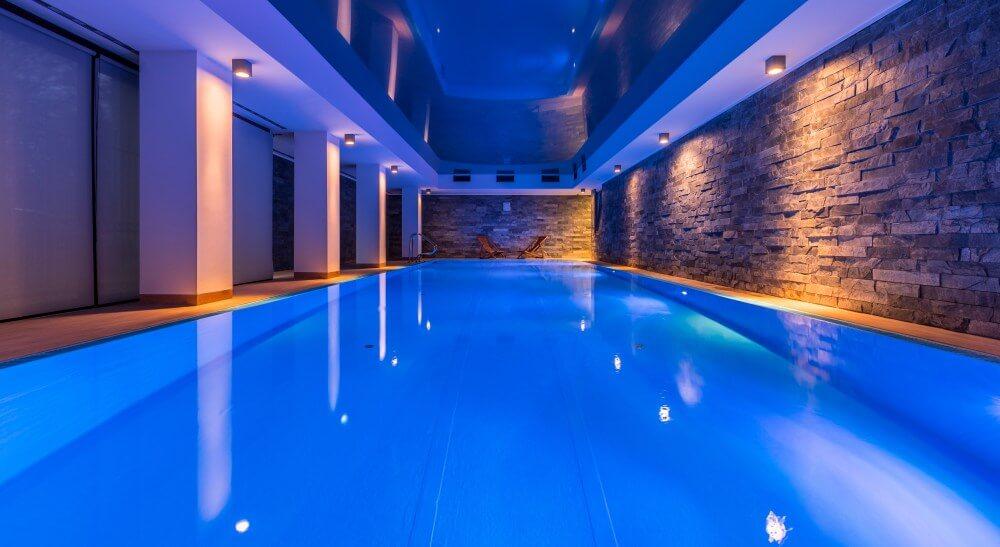
3. Retail Stores: Effective lighting is crucial in retail environments to highlight products and create an inviting atmosphere. LED downlights are ideal for use in display areas, fitting rooms, and shop windows.
4. Hotels and Hospitality: LED downlights offer subtle, ambient lighting in hotel lobbies, corridors, and guest rooms, enhancing the guest experience while promoting energy savings.
Why LED Downlights are a Smart Choice
Switching to LED downlights offers a number of compelling benefits, both in terms of energy savings and performance:
1. Cost-Effective: Although the initial investment in LED downlights may be higher than traditional lighting, the long-term savings on energy bills and replacement costs make them more economical. They consume up to 80% less energy than incandescent bulbs, which means you'll see a significant reduction in your energy bills.
2. Long Lifespan: One of the standout features of LED lighting is its durability. Most LED downlights have a lifespan of up to 50,000 hours, which is about 25 times longer than traditional incandescent bulbs. This reduces the need for frequent replacements, cutting down on maintenance costs.
3. Improved Lighting Quality: LED downlights offer superior light quality, providing instant illumination without the warm-up time associated with older bulbs. Additionally, LED technology allows for uniform lighting, reducing shadows and improving visibility.
4. Environmentally Friendly: As the world becomes more focused on sustainability, LED lighting stands out as an eco-friendly solution. LED downlights are free from toxic materials like mercury, which is commonly found in fluorescent bulbs. Plus, their energy efficiency means lower carbon emissions.
How to Choose the Right LED Downlights
When selecting LED downlights for your space, it’s essential to consider the following factors:
1. Brightness: Measured in lumens, brightness is a key factor to consider. For general lighting, choose downlights with higher lumens, while softer lighting can be achieved with lower lumens.
2. Color Temperature: LED downlights come in different color temperatures, usually ranging from warm white to cool white. Warm white (2700K-3000K) creates a cozy atmosphere, perfect for homes, while cool white (4000K-5000K) is ideal for workspaces and commercial environments.
3. Beam Angle: The beam angle determines the spread of light. Narrow beam angles (25°-40°) are ideal for accent lighting, while wider angles (60°-120°) provide broader coverage for general lighting.
4. Dimmability: If you want the flexibility to adjust the lighting according to the occasion, opt for dimmable LED downlights.
5. IP Rating: For wet or humid areas like bathrooms or outdoor spaces, ensure the downlights have an appropriate IP (Ingress Protection) rating for water resistance.
Why Choose Glow Green Energy Limited for LED Downlights?
At Glow Green Energy Limited, we pride ourselves on offering high-quality LED lighting solutions designed to meet the needs of our clients. Our LED downlights are energy-efficient, long-lasting, and tailored to a wide range of applications. With a commitment to sustainability and innovation, we ensure that our products provide the best value for both residential and commercial spaces.
Incorporating LED downlights into your space is a smart investment that pays off in the long run. From energy efficiency and cost savings to aesthetic appeal and superior lighting performance, LED downlights offer numerous benefits. At Glow Green Energy Limited, we’re here to help you make the switch to sustainable, high-performance lighting solutions that fit your needs.
For more information on our LED downlights, contact Glow Green Energy Limited today. Let us help you create a brighter, more efficient future for your home or business.
https://www.glowgreen.in/downlights.php
In the world of lighting, LED downlights are revolutionizing how homes, offices, and commercial spaces are illuminated. Offering high efficiency, longevity, and versatility, they are quickly becoming a go-to solution for energy-conscious consumers. At Glow Green Energy Limited, we are proud to provide a wide range of LED downlights that blend innovative technology with sleek design, catering to both functional and aesthetic needs.
What Are LED Downlights?
LED downlights are recessed lighting fixtures that are installed into the ceiling, providing downward illumination. Unlike traditional incandescent or CFL lights, LED (Light Emitting Diode) technology is highly energy-efficient, consuming significantly less power while offering brighter, clearer light. This makes them ideal for a variety of settings, including homes, offices, hotels, and retail spaces.
Key Features of LED Downlights by Glow Green Energy Limited
At Glow Green Energy Limited, we are committed to offering LED downlights with the latest features and innovations. Here’s what sets our downlights apart:
• Energy Efficiency: Our downlights use less electricity than conventional lighting solutions, helping to reduce energy consumption and lower utility bills.
• Long Lifespan: LEDs typically last up to 50,000 hours, making them an excellent long-term investment.
• Minimal Heat Emission: Unlike incandescent bulbs, which waste energy by emitting heat, LED downlights remain cool, increasing safety and reducing the need for air conditioning.
• Customizable Lighting: Choose from a variety of brightness levels (measured in lumens) and color temperatures to create the perfect ambiance for any space.
• Eco-Friendly: LED lighting contains no harmful materials like mercury, making it safer for the environment.
Applications of LED Downlights
One of the primary reasons LED downlights are so popular is their versatility. They can be used in a wide range of settings to enhance both functionality and aesthetics. Here are some of the key areas where LED downlights excel:
1. Residential Spaces: From kitchens and living rooms to bathrooms and hallways, LED downlights offer clean, focused lighting that enhances the overall appearance of any room. With dimming options, they can create the perfect ambiance for relaxing or entertaining.
2. Offices and Commercial Buildings: In work environments, LED downlights provide bright, flicker-free illumination, reducing eye strain and boosting productivity. Their energy-efficient design helps businesses cut down on operational costs.
3. Retail Stores: Effective lighting is crucial in retail environments to highlight products and create an inviting atmosphere. LED downlights are ideal for use in display areas, fitting rooms, and shop windows.
4. Hotels and Hospitality: LED downlights offer subtle, ambient lighting in hotel lobbies, corridors, and guest rooms, enhancing the guest experience while promoting energy savings.
Why LED Downlights are a Smart Choice
Switching to LED downlights offers a number of compelling benefits, both in terms of energy savings and performance:
1. Cost-Effective: Although the initial investment in LED downlights may be higher than traditional lighting, the long-term savings on energy bills and replacement costs make them more economical. They consume up to 80% less energy than incandescent bulbs, which means you'll see a significant reduction in your energy bills.
2. Long Lifespan: One of the standout features of LED lighting is its durability. Most LED downlights have a lifespan of up to 50,000 hours, which is about 25 times longer than traditional incandescent bulbs. This reduces the need for frequent replacements, cutting down on maintenance costs.
3. Improved Lighting Quality: LED downlights offer superior light quality, providing instant illumination without the warm-up time associated with older bulbs. Additionally, LED technology allows for uniform lighting, reducing shadows and improving visibility.
4. Environmentally Friendly: As the world becomes more focused on sustainability, LED lighting stands out as an eco-friendly solution. LED downlights are free from toxic materials like mercury, which is commonly found in fluorescent bulbs. Plus, their energy efficiency means lower carbon emissions.
How to Choose the Right LED Downlights
When selecting LED downlights for your space, it’s essential to consider the following factors:
1. Brightness: Measured in lumens, brightness is a key factor to consider. For general lighting, choose downlights with higher lumens, while softer lighting can be achieved with lower lumens.
2. Color Temperature: LED downlights come in different color temperatures, usually ranging from warm white to cool white. Warm white (2700K-3000K) creates a cozy atmosphere, perfect for homes, while cool white (4000K-5000K) is ideal for workspaces and commercial environments.
3. Beam Angle: The beam angle determines the spread of light. Narrow beam angles (25°-40°) are ideal for accent lighting, while wider angles (60°-120°) provide broader coverage for general lighting.
4. Dimmability: If you want the flexibility to adjust the lighting according to the occasion, opt for dimmable LED downlights.
5. IP Rating: For wet or humid areas like bathrooms or outdoor spaces, ensure the downlights have an appropriate IP (Ingress Protection) rating for water resistance.
Why Choose Glow Green Energy Limited for LED Downlights?
At Glow Green Energy Limited, we pride ourselves on offering high-quality LED lighting solutions designed to meet the needs of our clients. Our LED downlights are energy-efficient, long-lasting, and tailored to a wide range of applications. With a commitment to sustainability and innovation, we ensure that our products provide the best value for both residential and commercial spaces.
Incorporating LED downlights into your space is a smart investment that pays off in the long run. From energy efficiency and cost savings to aesthetic appeal and superior lighting performance, LED downlights offer numerous benefits. At Glow Green Energy Limited, we’re here to help you make the switch to sustainable, high-performance lighting solutions that fit your needs.
For more information on our LED downlights, contact Glow Green Energy Limited today. Let us help you create a brighter, more efficient future for your home or business.
https://www.glowgreen.in/downlights.php
LED Downlights: Energy-Efficient Illumination for Modern Spaces by Glow Green Energy Limited
In the world of lighting, LED downlights are revolutionizing how homes, offices, and commercial spaces are illuminated. Offering high efficiency, longevity, and versatility, they are quickly becoming a go-to solution for energy-conscious consumers. At Glow Green Energy Limited, we are proud to provide a wide range of LED downlights that blend innovative technology with sleek design, catering to both functional and aesthetic needs.
What Are LED Downlights?
LED downlights are recessed lighting fixtures that are installed into the ceiling, providing downward illumination. Unlike traditional incandescent or CFL lights, LED (Light Emitting Diode) technology is highly energy-efficient, consuming significantly less power while offering brighter, clearer light. This makes them ideal for a variety of settings, including homes, offices, hotels, and retail spaces.
Key Features of LED Downlights by Glow Green Energy Limited
At Glow Green Energy Limited, we are committed to offering LED downlights with the latest features and innovations. Here’s what sets our downlights apart:
• Energy Efficiency: Our downlights use less electricity than conventional lighting solutions, helping to reduce energy consumption and lower utility bills.
• Long Lifespan: LEDs typically last up to 50,000 hours, making them an excellent long-term investment.
• Minimal Heat Emission: Unlike incandescent bulbs, which waste energy by emitting heat, LED downlights remain cool, increasing safety and reducing the need for air conditioning.
• Customizable Lighting: Choose from a variety of brightness levels (measured in lumens) and color temperatures to create the perfect ambiance for any space.
• Eco-Friendly: LED lighting contains no harmful materials like mercury, making it safer for the environment.
Applications of LED Downlights
One of the primary reasons LED downlights are so popular is their versatility. They can be used in a wide range of settings to enhance both functionality and aesthetics. Here are some of the key areas where LED downlights excel:
1. Residential Spaces: From kitchens and living rooms to bathrooms and hallways, LED downlights offer clean, focused lighting that enhances the overall appearance of any room. With dimming options, they can create the perfect ambiance for relaxing or entertaining.
2. Offices and Commercial Buildings: In work environments, LED downlights provide bright, flicker-free illumination, reducing eye strain and boosting productivity. Their energy-efficient design helps businesses cut down on operational costs.
3. Retail Stores: Effective lighting is crucial in retail environments to highlight products and create an inviting atmosphere. LED downlights are ideal for use in display areas, fitting rooms, and shop windows.
4. Hotels and Hospitality: LED downlights offer subtle, ambient lighting in hotel lobbies, corridors, and guest rooms, enhancing the guest experience while promoting energy savings.
Why LED Downlights are a Smart Choice
Switching to LED downlights offers a number of compelling benefits, both in terms of energy savings and performance:
1. Cost-Effective: Although the initial investment in LED downlights may be higher than traditional lighting, the long-term savings on energy bills and replacement costs make them more economical. They consume up to 80% less energy than incandescent bulbs, which means you'll see a significant reduction in your energy bills.
2. Long Lifespan: One of the standout features of LED lighting is its durability. Most LED downlights have a lifespan of up to 50,000 hours, which is about 25 times longer than traditional incandescent bulbs. This reduces the need for frequent replacements, cutting down on maintenance costs.
3. Improved Lighting Quality: LED downlights offer superior light quality, providing instant illumination without the warm-up time associated with older bulbs. Additionally, LED technology allows for uniform lighting, reducing shadows and improving visibility.
4. Environmentally Friendly: As the world becomes more focused on sustainability, LED lighting stands out as an eco-friendly solution. LED downlights are free from toxic materials like mercury, which is commonly found in fluorescent bulbs. Plus, their energy efficiency means lower carbon emissions.
How to Choose the Right LED Downlights
When selecting LED downlights for your space, it’s essential to consider the following factors:
1. Brightness: Measured in lumens, brightness is a key factor to consider. For general lighting, choose downlights with higher lumens, while softer lighting can be achieved with lower lumens.
2. Color Temperature: LED downlights come in different color temperatures, usually ranging from warm white to cool white. Warm white (2700K-3000K) creates a cozy atmosphere, perfect for homes, while cool white (4000K-5000K) is ideal for workspaces and commercial environments.
3. Beam Angle: The beam angle determines the spread of light. Narrow beam angles (25°-40°) are ideal for accent lighting, while wider angles (60°-120°) provide broader coverage for general lighting.
4. Dimmability: If you want the flexibility to adjust the lighting according to the occasion, opt for dimmable LED downlights.
5. IP Rating: For wet or humid areas like bathrooms or outdoor spaces, ensure the downlights have an appropriate IP (Ingress Protection) rating for water resistance.
Why Choose Glow Green Energy Limited for LED Downlights?
At Glow Green Energy Limited, we pride ourselves on offering high-quality LED lighting solutions designed to meet the needs of our clients. Our LED downlights are energy-efficient, long-lasting, and tailored to a wide range of applications. With a commitment to sustainability and innovation, we ensure that our products provide the best value for both residential and commercial spaces.
Incorporating LED downlights into your space is a smart investment that pays off in the long run. From energy efficiency and cost savings to aesthetic appeal and superior lighting performance, LED downlights offer numerous benefits. At Glow Green Energy Limited, we’re here to help you make the switch to sustainable, high-performance lighting solutions that fit your needs.
For more information on our LED downlights, contact Glow Green Energy Limited today. Let us help you create a brighter, more efficient future for your home or business.
https://www.glowgreen.in/downlights.php
0 Comments
0 Shares
966 Views
0 Reviews