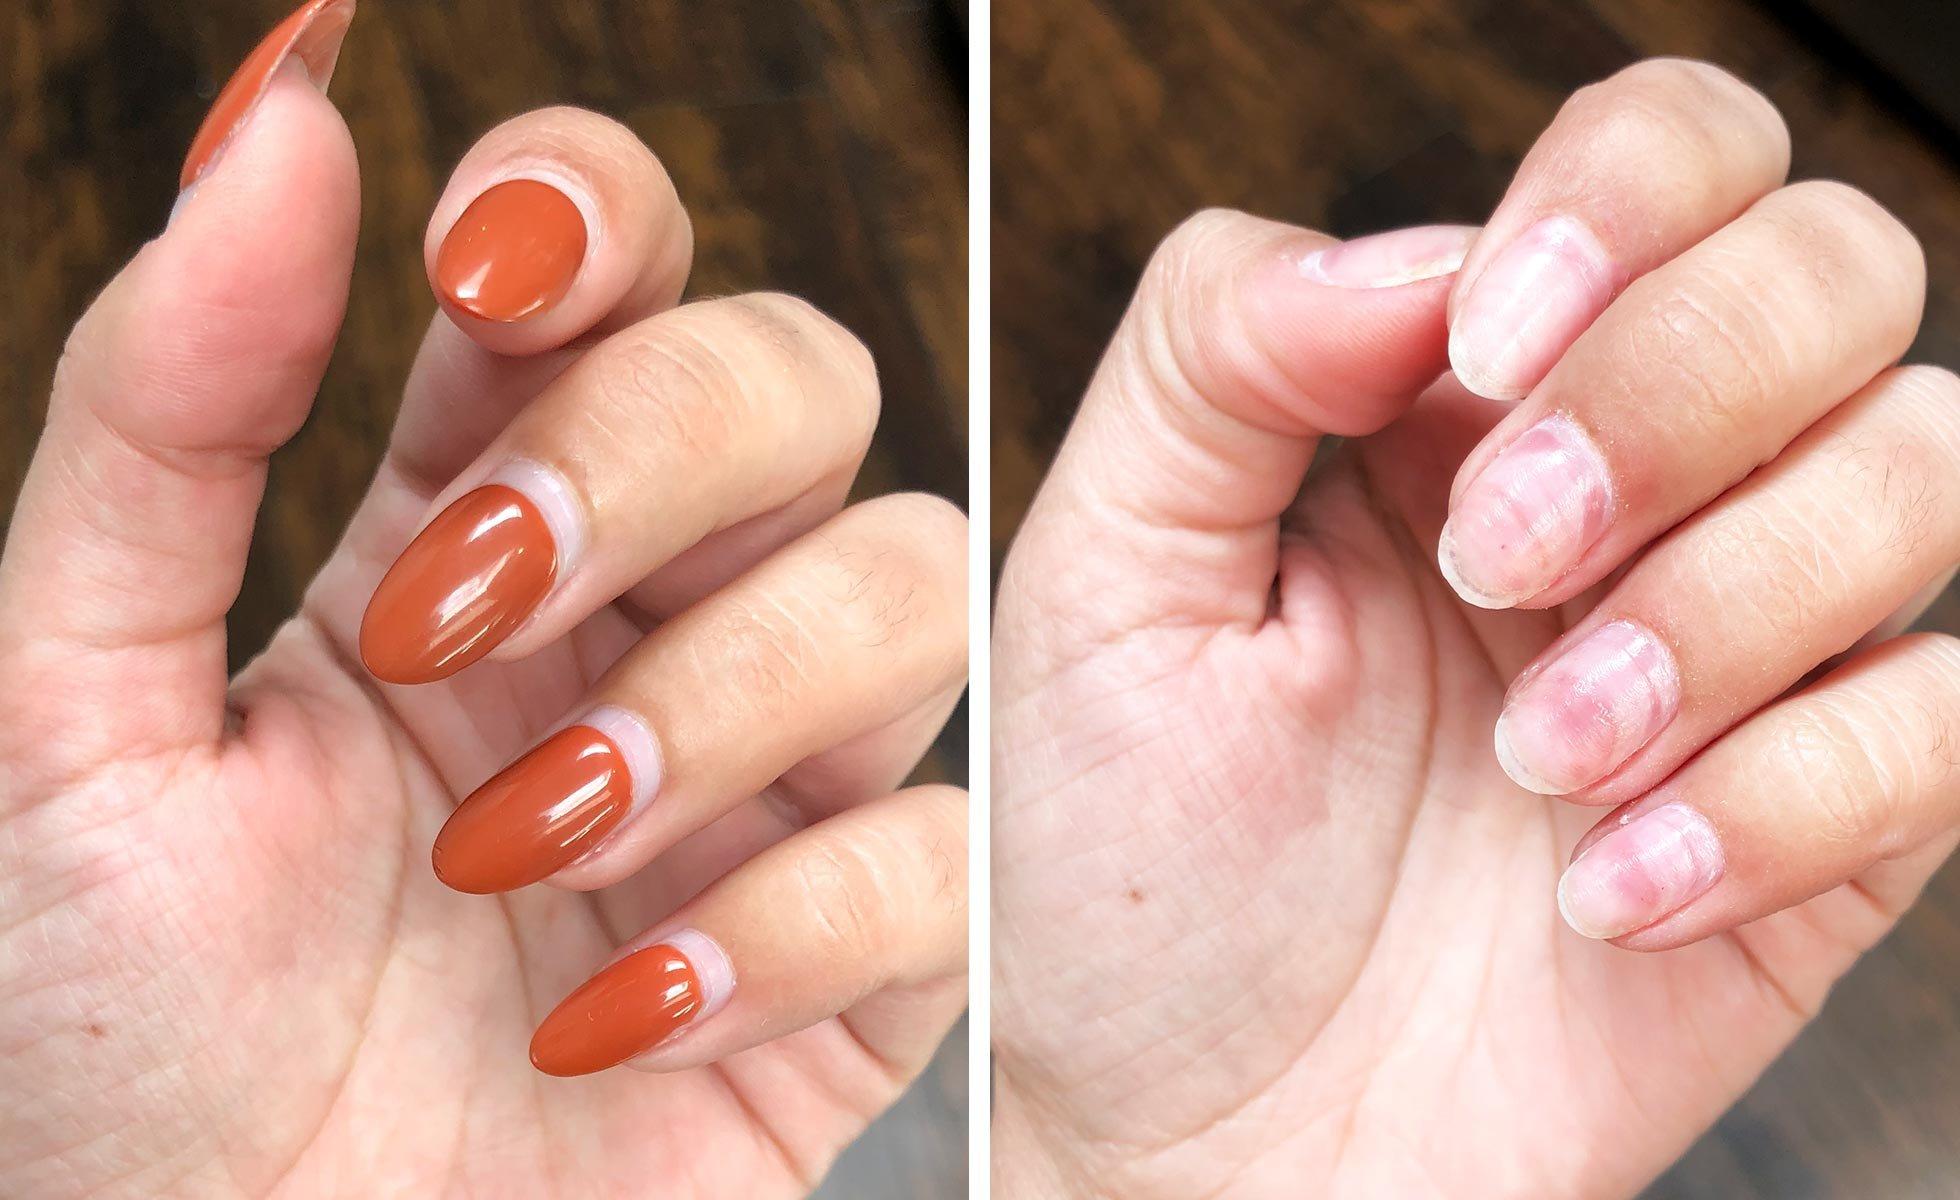
Acrylic nails have become a popular choice for those looking to add length and durability to their natural nails. Yet, the removal process can often be daunting, involving soaking in acetone for an extended period. But what if you could remove acrylic nails at home without the hassle of soaking? In this comprehensive guide, we'll explore effective methods for removing acrylic nails without water immersion. From simple techniques using common household items to professional-grade solutions, you'll discover the best approach to bid farewell to your acrylics with ease.
Understanding Acrylic Nails
Before delving into removal methods, it's essential to understand what acrylic nails are and how they adhere to your natural nails. A mixture of liquid monomer and powder polymer is combined to create a pliable substance for acrylic nails. This blend is then applied to the natural nails, shaped according to preference, and hardened under a UV or LED lamp. The result is a durable and long-lasting artificial nail that can withstand daily activities.
Acrylic nails adhere to the natural nail through a process called polymerization, where the molecules of the acrylic mixture form strong bonds with the keratin proteins in the natural nail. This bond is what makes acrylic nails resilient but also makes their removal challenging without proper techniques.
Methods for Removing Acrylic Nails At Home Without Soaking in Water
Method 1: Dental Floss Technique
One of the most popular methods for removing acrylic nails at home involves using dental floss or dental tape. This technique demands minimal supplies and users can execute it with care.
Materials Needed:
-
Nail clippers
-
Cuticle pusher or orangewood stick
-
Dental floss or dental tape
-
Nail buffer or file
-
Moisturising lotion or cuticle oil
Steps:
1. Begin by trimming the acrylic nails as short as possible using nail clippers.
2. Use a cuticle pusher or orangewood stick to lift the edges of the acrylic nails away from the natural nail bed.
3. Take a piece of dental floss or dental tape and slide it underneath the lifted edge of the acrylic nail.
4. Gently saw back and forth with the dental floss or tape, applying slight pressure to separate the acrylic nail from the natural nail.
5. Continue performing this process until the acrylic nail loosens enough to be completely removed.
6. Once all acrylic nails are removed, use a nail buffer or file to smooth out any roughness or remaining acrylic residue on the natural nails.
7. Finish by applying moisturising lotion or cuticle oil to nourish the nails and surrounding skin.
Method 2: Acetone-Free Nail Polish Remover
If you prefer to avoid acetone-based products, you can opt for acetone-free nail polish remover to dissolve the acrylic nails .
Materials Needed:
-
Acetone-free nail polish remover
-
Cotton balls or pads
-
Aluminium foil
-
Cuticle pusher or orangewood stick
-
Moisturising lotion or cuticle oil
Steps:
1. Begin by trimming the acrylic nails as short as possible using nail clippers.
2. Soak a cotton ball or pad with acetone-free nail polish remover.
3. Place the soaked cotton ball or pad on top of the acrylic nail.
4. Wrap the fingertip with aluminium foil to secure the cotton ball or pad in place.
5. Repeat this process for each finger.
6. Allow the acetone-free nail polish remover to sit for 15-20 minutes to soften the acrylic nails.
7. After the allotted time, push the softened acrylic nails away from the natural nail bed using a cuticle pusher or orangewood stick.
8. If needed, repeat the procedure until all acrylic nails have been successfully removed.
9. Once all acrylic nails are removed, wash your hands with soap and water to remove any remaining residue.
10. Finish by applying moisturising lotion or cuticle oil to hydrate the nails and surrounding skin.
Method 3: Using Nail Adhesive Remover
For a more targeted approach, you can use nail adhesive remover designed for removing artificial nails.
Materials Needed:
-
Nail adhesive remover
-
Cotton balls or pads
-
Aluminium foil
-
Cuticle pusher or orangewood stick
-
Moisturising lotion or cuticle oil
Steps:
1. Begin by trimming the acrylic nails as short as possible using nail clippers.
2. Apply a generous amount of nail adhesive remover to a cotton ball or pad.
3. Place the soaked cotton ball or pad on top of the acrylic nail.
4. Wrap the fingertip with aluminium foil to secure the cotton ball or pad in place.
5. Repeat this process for each finger.
6. Allow the nail adhesive remover to penetrate the acrylic nails for 10-15 minutes.
7. After the allotted time, push the softened acrylic nails away from the natural nail bed using a cuticle pusher or orangewood stick.
8. If needed, continue repeating the process until all acrylic nails have been removed.
9. Once you have removed all acrylic nails, wash your hands with soap and water to drop any remaining residue.
10. Finish by applying moisturising lotion or cuticle oil to replenish moisture to the nails and surrounding skin.
Conclusion of Removing Acrylic Nails
Removing acrylic nails at home without soaking them in water is achievable with the right techniques and products. Whether you prefer the simplicity of the dental floss method, the gentleness of acetone-free nail polish remover, or the effectiveness of nail adhesive remover, there's a solution tailored to your needs. Remember to proceed with caution and rank the health of your natural nails throughout the removal process.
Read more https://webyourself.eu/


