


How to Test Check Valve on Well Pump?
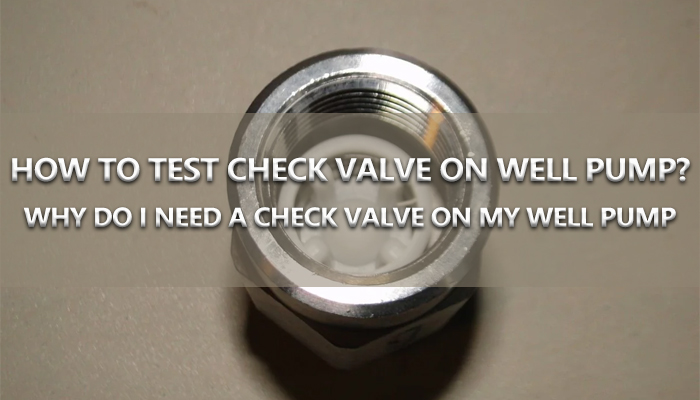
A well pump check valve is a crucial component in your water system, ensuring that water flows only in one direction. This simple yet effective device prevents backflow, safeguarding your pump and plumbing system. Understanding how to test and maintain your well pump check valve is key to ensuring its longevity and the overall efficiency of your well pump system. In this guide, we will walk you through the steps to test your check valve, so you can keep your system running smoothly for years.
What is a Well Pump Check Valve?
A well pump check valve is a one-way valve designed to prevent water from flowing backward into the pump. It’s typically installed near the pump to ensure that water only moves in the desired direction, protecting the pump from damage caused by backflow. A malfunctioning check valve can cause various issues, such as low water pressure or pump failure, which is why regular testing and maintenance are essential.
Why Test Your Well Pump Check Valve?
Testing your well pump check valve is necessary to ensure its proper functioning. If the valve is malfunctioning, it can allow water to flow back into the pump, causing damage and reducing the system’s efficiency. A faulty valve can lead to issues such as airlocks, which affect the flow of water and can result in more significant plumbing problems. Regular testing helps you identify issues early and make repairs before they escalate.
Tools Needed for Testing a Well Pump Check Valve
Before you start testing your check valve, gather the necessary tools. You will typically need:
-
A pressure gauge
-
A wrench or pipe tool
-
A flashlight
-
A bucket or container to catch any water
These tools will allow you to access the valve, check for leaks, and measure the pressure to see if the valve is functioning correctly.
How to Test a Well Pump Check Valve?
Testing a check valve involves verifying its ability to block water flow in the wrong direction. Follow these steps to test your well pump check valve:
Step 1: Turn Off the Power to the Well Pump
Before working on any part of your well pump system, ensure the power is switched off to avoid electrical accidents. This is essential when accessing or removing parts of the pump or the check valve.
Step 2: Locate the Check Valve
The check valve is typically located near the well pump in the pipeline. If you have trouble finding it, consult your pump's manual. Ensure that the valve is visible and accessible for testing.
Step 3: Check for Visible Damage
Inspect the valve for any visible signs of wear or damage. Cracks, leaks, or corrosion are all signs that the valve may be failing. If you notice any of these issues, the valve will need to be replaced.
Step 4: Check the Valve’s Pressure
Using a pressure gauge, check the pressure of the water coming through the valve. A properly functioning check valve will maintain the appropriate pressure, ensuring that water does not flow back into the pump. If you notice a pressure drop, it could indicate a problem with the valve’s seal.
Step 5: Test the Valve’s Functionality
To test the valve’s ability to stop backflow, you can try manually moving the valve. If the valve doesn’t open or close easily, or if it lets water flow in both directions, it is likely malfunctioning and needs to be replaced.
Signs of a Malfunctioning Check Valve
Recognizing the signs of a faulty well pump check valve can save you time and money by addressing issues early. Here are some common indicators that your check valve may need attention:
-
Water Flow Issues: If you notice inconsistent water pressure or intermittent water flow, it could be a sign of a faulty check valve.
-
Strange Noises: Hissing or gurgling noises near the pump or in the pipes could suggest that the check valve isn’t closing properly, allowing air into the system.
-
Leaks Around the Valve: Water leakage around the check valve is a strong indicator of a damaged seal or valve failure.
What is the Axial Check Valve?
An axial check valve, unlike other types of check valves, relies on the axial flow of water to close the valve. The design allows for smoother water flow, minimizing the resistance to flow and reducing the chance of clogging. Axial check valves are often used in high-flow systems, such as in large-scale well pumps or industrial pumps.
The axial check valve’s design is more efficient in maintaining the flow rate compared to traditional check valves. However, it’s essential to test these valves regularly, as they can wear out or become clogged over time.

Replacing a Faulty Check Valve
If your test indicates that the check valve is malfunctioning, it’s time to replace it. Replacing a well pump check valve can seem daunting, but it’s a manageable task with the right tools and knowledge. Here’s a brief guide on how to replace the valve:
-
Turn off the power to the pump and shut off the water supply.
-
Disconnect the pipes connected to the check valve. Use a wrench to loosen the connections.
-
Remove the faulty valve by pulling it out of the pipeline.
-
Install the new valve by placing it into the correct position and reattaching the pipes.
-
Test the system after installation to ensure that the new valve is functioning properly.
Conclusion
A well pump check valve plays a vital role in ensuring the efficiency and longevity of your water pump system. Regularly testing and maintaining the check valve will help prevent costly repairs and ensure that your pump operates smoothly. By following the simple steps outlined in this guide, you can easily test and replace a faulty check valve, ensuring that your well pump continues to function as intended.
Remember to always use the correct tools and safety precautions when working with your well pump system. Regular maintenance is the key to avoiding major issues and ensuring your well pump remains in optimal condition for years to come.

 English
 Arabic
 Français
 Español
 Português
 Deutsch
 Türkçe
 Italiano
 Russian
 Romaian