


QuickBooks Shipping Manager Not Working: 8 Easy Solutions
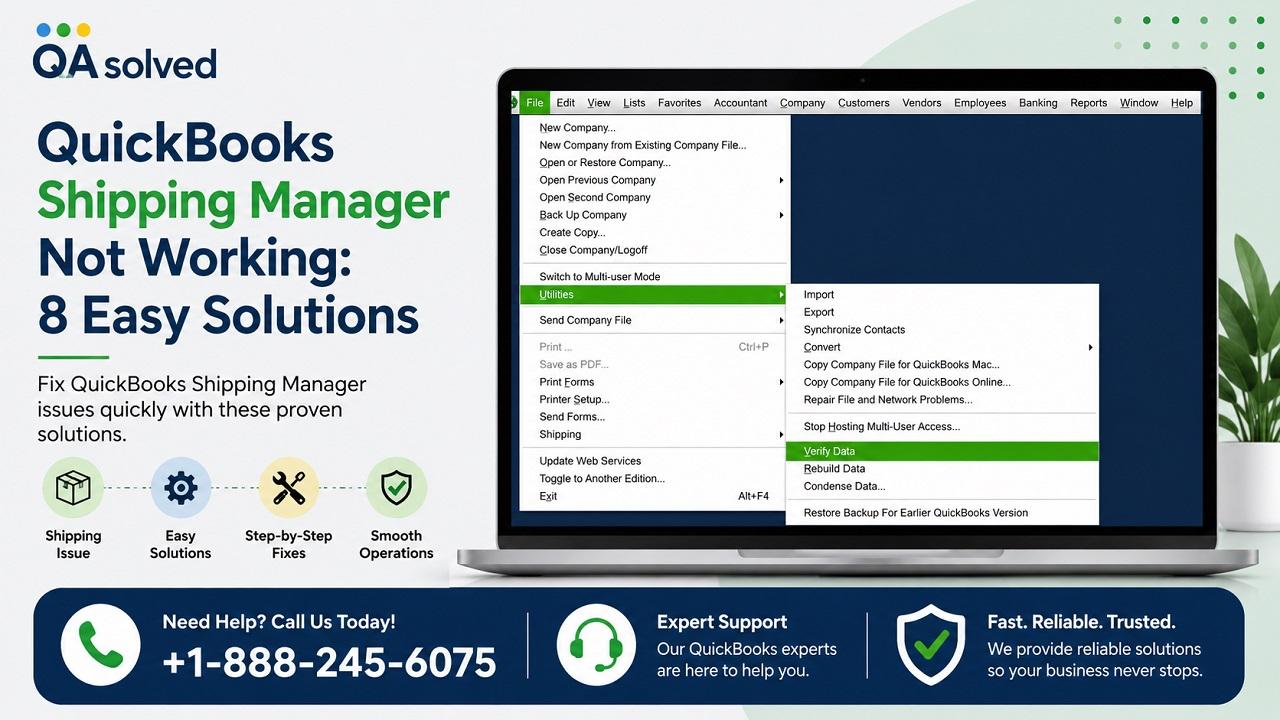
QuickBooks Shipping Manager can make it easier to manage shipping tasks directly from QuickBooks Desktop. However, users may sometimes find that QuickBooks Shipping Manager is not working, fails to create shipping labels, or displays database and authentication errors. Common messages include “The Shipping Manager database is newer than the Shipping Manager on this PC,” “DBISAM Engine Error #11949,” and “[250002] Invalid Authentication Information.”
The problem can occur because of outdated QuickBooks software, damaged installation files, firewall restrictions, database corruption, or issues with Shipping Manager components. Fortunately, several troubleshooting methods can help restore the Shipping Manager.
What Problems Can Occur With QuickBooks Shipping Manager?
QuickBooks Shipping Manager problems can affect different shipping tasks. For example, users may have trouble sending digital commercial invoices to UPS for international shipments, even after enabling the paperless invoice option. In some cases, commercial invoices may need to be sent manually by email.
Another issue can occur when you select Ship/Send from a customer invoice and choose UPS or FedEx for an international shipment. Instead of displaying the shipping label, the ShipRush dialog may appear only on the taskbar, requiring you to bring it to the front manually.
Why Is QuickBooks Shipping Manager Not Working?
Several factors can cause QuickBooks Shipping Manager to stop working properly. The most common reasons include:
-
QuickBooks Desktop cannot locate the latest Shipping Manager database.
-
Shipping Manager is being accessed from a Point of Sale client workstation.
-
QuickBooks installation files or related modules are damaged.
-
QuickBooks Desktop is outdated.
-
Firewall or antivirus software is blocking QuickBooks.
-
The Shipping Manager database or company file is damaged.
Try the following solutions one at a time. After completing each method, check whether Shipping Manager works correctly before moving to the next one.
Solution 1: Update QuickBooks Desktop
An outdated version of QuickBooks Desktop can cause compatibility problems with Shipping Manager. Start by updating QuickBooks Desktop to the latest available version and then restart your computer.
After restarting the system, open QuickBooks and try to access Shipping Manager again. If the problem continues, proceed to the next solution.
Solution 2: Run Quick Fix My Program
Quick Fix My Program is available through QuickBooks Tool Hub and can help resolve problems related to QuickBooks program components.
Follow these steps:
-
Download and install QuickBooks Tool Hub if it is not already installed.
-
Open QuickBooks Tool Hub.
-
Go to the Program Problems section.
-
Select Quick Fix My Program.
-
Once the process finishes, reopen QuickBooks Desktop.
-
Sign in to your company file and check Shipping Manager.
If Shipping Manager still does not work, continue with the next method.
Solution 3: Repair the QuickBooks Installation
Damaged installation components can also interfere with Shipping Manager. QuickBooks Tool Hub includes a diagnostic tool that can help repair installation-related problems.
To repair the installation:
-
Open QuickBooks Tool Hub.
-
Select Installation Issues.
-
Choose QuickBooks Install Diagnostic Tool.
-
Allow the tool to complete its process. The source indicates that this can take around 20 minutes.
-
Restart your computer after the process finishes.
-
Open QuickBooks Desktop and access your company file.
Check Shipping Manager again after restarting QuickBooks.
Solution 4: Register the ShipRush OCX File
The ShipRush OCX file is another component that may need to be registered when Shipping Manager encounters certain errors.
Follow these steps carefully:
-
Open the Windows Start menu.
-
Search for Command Prompt.
-
Right-click Command Prompt and choose Run as Administrator.
-
Enter:
CD c:\Windows\syswow64 -
Then register the ShipRush OCX file using the path provided in the source:
regsvr32.exe "c:\Program Files (x86)\Common Files\Intuit\ShippingManager\ZRush_ShipRush9_QB.ocx" -
Click OK.
-
Restart the computer.
-
Reopen and configure Shipping Manager.
If the error remains, try renaming the Shipping Manager folders.
Solution 5: Rename the Shipping Manager Folders
Damaged or outdated Shipping Manager folders may cause the application to malfunction. Renaming these folders allows QuickBooks to recreate them when needed.
-
Press Windows + E to open File Explorer.
-
Locate the Shipping Manager folders at the following locations:
-
C:\Program Files (x86)\CommonFiles\Intuit\ShippingManager -
C:\Users\[WindowsUserName]\AppData\Roaming\Intuit\ShippingManager
-
-
Rename the appropriate folder by adding the .old extension to its name.
-
Restart your computer.
-
Open QuickBooks and test Shipping Manager again.
Solution 6: Recreate the Shipping Manager Account
A damaged Shipping Manager account can also prevent the database from working correctly. In this situation, delete the existing account and create it again.
First, delete the account:
-
Open QuickBooks Desktop.
-
Select File.
-
Choose Shipping.
-
Go to Shipping Options > Settings.
-
Select Delete Account.
Next, recreate the account:
-
Sign in to your QuickBooks company file.
-
Select File > Shipping > Ship UPS Package.
-
Enter the required account information.
-
Review and accept the End User License Agreement.
-
Select Next.
-
Verify your printer settings.
-
Select Next, then Finish.
After creating the account again, test the Shipping Manager.
Solution 7: Verify and Rebuild the QuickBooks Company File
If the company file is damaged, it may interfere with Shipping Manager. QuickBooks provides Verify Data and Rebuild Data utilities to check and repair certain data issues.
To verify the company file:
-
Open the File menu.
-
Select Utilities.
-
Choose Verify Data.
If QuickBooks identifies a data problem, use the Rebuild Data utility:
-
Open File > Utilities.
-
Select Rebuild Data.
-
Follow the on-screen instructions to complete the process.
-
Run Verify Data again after rebuilding to check whether additional damage remains.
Solution 8: Reinstall QuickBooks Point of Sale
If the Shipping Manager issue is associated with QuickBooks Point of Sale, reinstalling the POS application may help.
Follow these steps:
-
Open the Windows Start menu.
-
Open Control Panel.
-
Go to Programs and Features.
-
Locate QuickBooks Point of Sale.
-
Right-click it and select Uninstall.
-
Follow the on-screen instructions.
-
Reinstall QuickBooks Point of Sale.
After reinstalling POS, reopen QuickBooks Desktop and adjust the Shipping Manager settings:
-
Go to File > Preferences > Company.
-
Select Shipping under the Sales section.
-
Clear the checkbox used to access QuickBooks Shipping Manager.
-
Select Save.
-
Return to File > Preferences > Company > Shipping.
-
Select the Shipping Manager checkbox again.
-
Open the Point of Sale menu and select Shipping Manager settings.
-
Enter the required Shipping Manager account details.
Fix QuickBooks Shipping Manager Access Violation in Multi-User Mode
Some users may encounter an access violation when attempting to create a UPS shipment through the Shipping Manager. The source also provides network configuration steps for multi-user environments.
On the host computer, open Shipping Manager Settings > Connection Settings and select Connect via Network. The source specifies the Shipping Manager database location as:
C:\Documents and Settings\All Users\Documents\Shipping Manager v4\Database.v4
The company file is specified at:
C:\Documents and Settings\All Users\Documents\Intuit\QuickBooks\Company Files
Close QuickBooks Desktop on both the host and workstation computers. Copy the Shipping Manager v4 folder to the company file location and configure the connection settings again. On the workstation, use the host computer name or IP address in the network path as specified in the source.
Once the configuration is complete, reopen QuickBooks and check whether Shipping Manager works normally.
How to Prevent QuickBooks Shipping Manager Errors
Preventive maintenance can reduce the chances of Shipping Manager problems returning. Keep your operating system and drivers updated, provide QuickBooks with the required permissions, and make sure your antivirus and firewall settings do not block necessary QuickBooks operations.
It is also helpful to address database or installation problems as soon as they appear instead of continuing to use a damaged configuration.
QuickBooks Shipping Manager not working can interrupt shipping labels, invoices, UPS or FedEx shipments, and other shipping tasks. The problem may be connected to outdated QuickBooks software, damaged installation components, folder issues, account problems, firewall restrictions, or company-file damage.
Start with the simpler solutions, such as updating QuickBooks and running Quick Fix My Program. If those methods do not work, move on to installation repair, ShipRush OCX registration, folder renaming, account recreation, data rebuilding, or POS reinstallation. The source provides multiple troubleshooting methods because the exact cause can vary from one QuickBooks environment to another.
Frequently Asked Questions
How do I fix QuickBooks Shipping Manager not working?
Start by updating QuickBooks Desktop and restarting the computer. If the problem continues, try Quick Fix My Program, repair the QuickBooks installation, register the ShipRush OCX file, rename the Shipping Manager folders, recreate the Shipping Manager account, or verify and rebuild the company data file.
Why does QuickBooks Shipping Manager show a database error?
A database error may occur when QuickBooks cannot locate the latest database or when the Shipping Manager database has become corrupted. The source also lists outdated software and damaged program components as possible causes.
Can renaming Shipping Manager folders fix the problem?
Renaming the Shipping Manager folders and adding the .old extension can help recreate the folders. After renaming them, restart the system and test Shipping Manager again.
Does rebuilding the QuickBooks company file help?
If company-file damage is contributing to the Shipping Manager problem, running Verify Data followed by Rebuild Data can help identify and repair data issues. Run Verify Data again after rebuilding to check the file.
How can I prevent QuickBooks Shipping Manager errors?
Keep your operating system and drivers updated, provide the necessary QuickBooks permissions, and configure your antivirus and firewall to allow required QuickBooks operations.

 Arabic
 Français
 Español
 Português
 Deutsch
 Türkçe
 Dutch
Dutch
 Italiano
 Russian
 Romaian