

How To Fix LED Lights When They Won’t Turn On?
Unlock the Secrets to Reviving Your Unlit LEDs and Illuminate Your Space Once Again!
LED lights, renowned for their energy efficiency and longevity, occasionally succumb to a frustrating issue: not turning on.
>>> See More Can LED Lights Be Used in Enclosed Fixtures?
1. Ensuring Power Connections and Circuitry are Intact
You wouldn’t believe how often the simplest solutions can solve the most intricate problems. Let’s start by addressing the power-related aspects:
· Double-Check Power Connection: Ensure your LED lights are firmly connected to the power source. Sometimes, a loose plug or cable might be the culprit behind the darkness.
· Inspect Power Switch: It might sound elementary, but confirm that the LED Driver is turned on. Sometimes, it’s the small things that escape our attention.
· Investigate Circuit Interruptions: Examine your circuitry for potential interruptions like blown fuses. If you find any, replacing the fuse could be the key to restoring light.
2. Evaluating the LEDs Themselves
Moving on, let’s focus on the LED lights themselves and delve into their intricate components:
· Check the LED Bulb: Begin by inspecting the LED bulb. Is it damaged or burned out? Replacing a faulty bulb might just be the answer.
· LED Driver Malfunction: LED lights often come with drivers to stabilize current. If your lights still won’t turn on, the driver might be the culprit. Consider replacing it to see if it resolves the issue.
3. Tackling Circuitry Issues
Now, let’s dive into the circuitry, which is where many problems tend to reside:
· Secure Wire Connections: Ensure your wire connections are tightly secured. Loose wires can disrupt the flow of current, dimming your hopes for a bright space.
· Welding Connections: Check the soldering connections on the circuit board. If you spot broken or disconnected solder joints, re-soldering might provide the solution.
· Component Inspection: Take a look at the components on the circuit board—capacitors, resistors, and the like. A damaged component can spell circuitry disaster.
4. Considering Heat-Related Issues
Heat can be a silent culprit in LED troubles. Address potential heat-related problems:
· Overheat Protection: Some LED lights feature overheat protection mechanisms. If your bulbs have been on for extended periods, they might have shut down due to overheating. Allow them to cool before attempting to light them again.
· Heat Management: Reflect on the operating environment. If your LED lights are working in a high-temperature setting, it could lead to issues. Proper heat dissipation design is crucial.
5. Troubleshooting Specific Types of LED Lights
Different types of LED lights, such as linear lights, panel lights, track lights, and strip lights, might have specific issues causing them not to turn on. Let’s explore how to troubleshoot each type:
Linear Lights:
· Check for Connection Issues: Inspect the wiring connections at both ends of the linear light fixture. Loose connections could be responsible for the malfunction.
· Examine the LED Tube: If you’re dealing with LED tube lights, examine the tubes for visible damage or defects. A damaged tube might need replacement.
Panel Lights:
· Verify Power Source: Ensure the led light panel is connected to a stable power source. Fluctuations in power supply can lead to inconsistent lighting or no illumination.
· Inspect the Driver: Panel lights rely on drivers for proper functioning. A malfunctioning driver could be causing the issue. Consider replacing it if needed.
Track Lights:
· Check Track Connection: Ensure the track lights are securely attached to the track. Loose fixtures can disrupt the electrical connection.
· Evaluate Bulb Position: If you’re using adjustable track lights, verify that the bulbs are positioned correctly within the fixtures. Improper positioning might lead to poor contact.
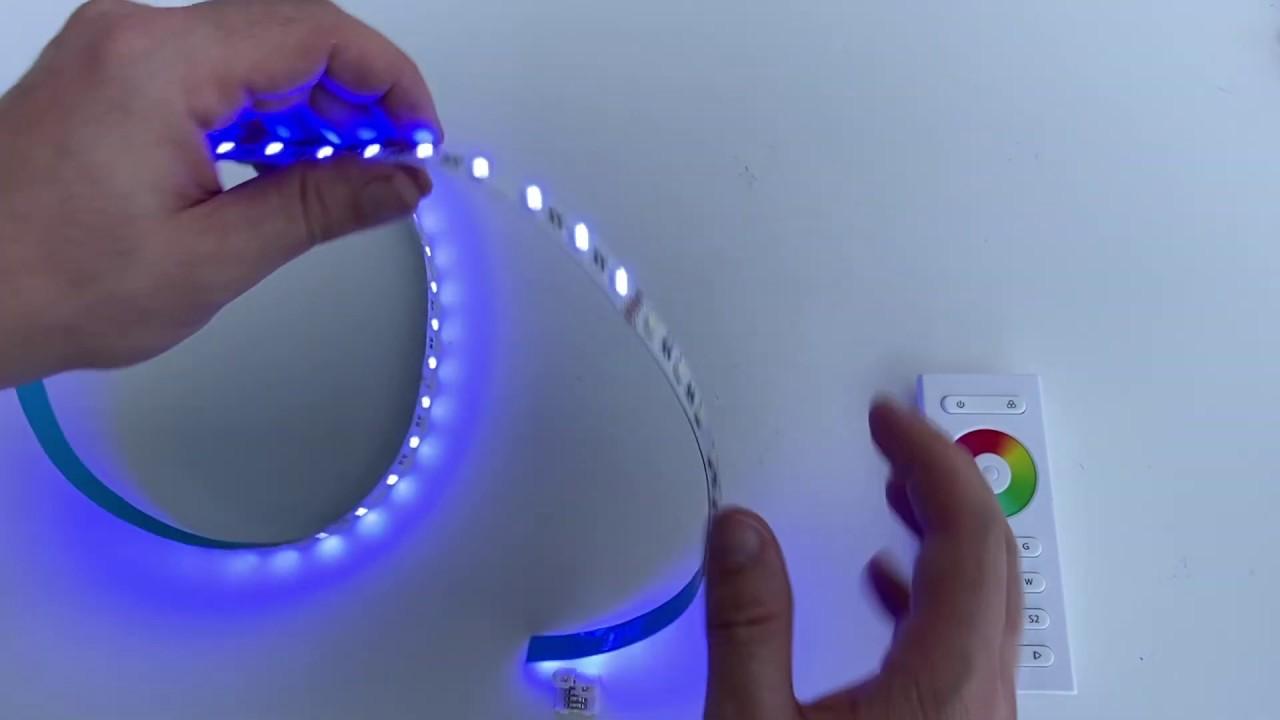
Strip Lights:
· Review led strip lights Adhesion: Strip lights often come with adhesive backing. Ensure the strips are firmly adhered to the surface. Loose strips can cause electrical interruptions.
· Inspect for Cut Points: If you’ve cut the LED strip to fit a specific length, ensure the cut points are properly sealed and insulated. Exposed cut points can lead to circuit issues.
>>> See More: Why do led can lights flicker after turned off?
6. Seeking Professional Assistance
When all else fails, it’s time to consider the experts:
- Professional Repair: If you’re uncertain about the issue or lack repair skills, it’s wise to enlist professional help. Attempting intricate repairs without expertise might exacerbate the problem.
7. Preventing Future Issues
Proactive measures can extend the life of your LEDs:
· Regular Maintenance: Just like any equipment, LEDs benefit from regular cleaning and maintenance, ensuring they stay in top shape.
· Mind the Environment: Avoid placing LED lights in damp or excessively hot environments, as this can safeguard your circuits from malfunctions.
· Opt for Quality: Invest in high-quality LED lights. They might cost a bit more, but they come with a reduced risk of issues.
Ready to Illuminate Your Space?
Follow this guide to troubleshoot and rejuvenate your unlit LED lights. With a keen eye for connection, evaluation, and circuitry, you’ll soon see the glow you’ve been missing. Remember, whether you’re handling circuit repairs or opting for professional assistance, a well-lit space awaits you on the other side of this journey. Onward to brighter days!
Table: Troubleshooting LED Lights
Stay tuned for the next section, where we’ll explore how to troubleshoot and fix specific types of LED lights that aren’t turning on.
>>> Read more: Where to Put LED Lights in Your Room LEDMyPlace
8. Troubleshooting Specific Types of LED Lights (Continued)
In the realm of LED lighting, diversity reigns supreme. Each type of LED light comes with its unique design and potential issues. Let’s delve further into the specifics of linear lights, panel lights, track lights, and strip lights:
Linear Lights:
Linear lights, often used for task or ambient lighting, are known for their sleek design and versatility. If your linear lights refuse to shine, here’s what to do:
· Check for Connection Issues: Start by ensuring that both ends of the linear light are properly connected to the power source. A loose connection can disrupt the circuit and prevent the light from turning on.
· Examine the LED Tube: If you’re working with LED tube lights, inspect the tubes for any visible signs of damage, such as cracks or dark spots. A damaged tube can hinder proper illumination and might need to be replaced.
Panel Lights:
Panel lights provide even and uniform lighting, making them a popular choice for office spaces and homes alike. When your panel lights won’t light up, consider the following steps:
· Verify Power Source: Ensure that the panel light is properly connected to a stable power source. Fluctuations in power supply can lead to inconsistent lighting or no illumination at all.
· Inspect the Driver: Panel lights often rely on LED drivers to regulate the current and voltage. A malfunctioning driver can lead to erratic performance. If you suspect the driver is faulty, consider replacing it with a compatible one.
Track Lights:
Track lights offer flexibility in directing light where it’s needed, making them ideal for accent lighting. If your track lights aren’t illuminating as expected, take these measures:
· Check Track Connection: Ensure that the led track lights are securely attached to the track itself. Loose fixtures can disrupt the electrical connection, leading to dim or non-existent lighting.
· Evaluate Bulb Position: If you’re using adjustable track lights, make sure that the bulbs are positioned correctly within the fixtures. Incorrect positioning can cause poor electrical contact and, consequently, dim lighting.
Strip Lights:
Strip lights, popular for their versatility and decorative appeal, can also face issues that affect their illumination. If your strip lights aren’t lighting up, here’s what to consider:
· Review LED Strip Adhesion: Check the adhesive backing of the strip lights. Over time, adhesive can weaken, causing the strips to detach from surfaces. Proper adhesion ensures consistent electrical contact.
· Inspect for Cut Points: If you’ve customized the length of your LED strips by cutting them, ensure that the cut points are well-insulated. Exposed cut points can lead to short circuits and prevent the strip from lighting up properly.
>>> Read more: Why do LED Lights Fail?
9. Seeking Professional Assistance
Despite your best efforts, there might be cases where the issue remains elusive or beyond your expertise. In such instances, seeking professional assistance is a prudent choice:
- Professional Repair: If you find yourself grappling with a complex issue or lack the necessary technical skills, it’s advisable to reach out to professionals who specialize in LED lighting repair. They possess the expertise to diagnose and fix intricate problems.
10. Preventing Future Issues
While troubleshooting and resolving current LED lighting issues are important, taking steps to prevent future problems is equally crucial:
· Regular Maintenance: Regular cleaning and maintenance of your LED lights can significantly extend their lifespan and ensure optimal performance. Remove dust and debris that can accumulate over time, as they can affect light output.
· Mind the Environment: Be mindful of the operating environment of your LED lights. Avoid placing them in areas with excessive humidity or extreme temperatures, as these conditions can contribute to circuit issues.
· Opt for Quality: When selecting LED lights, prioritize quality over price. Investing in reputable brands and high-quality products might incur a slightly higher cost upfront, but it will pay off in terms of longevity and reliability.
>>> Follow for more: DawnRussell