

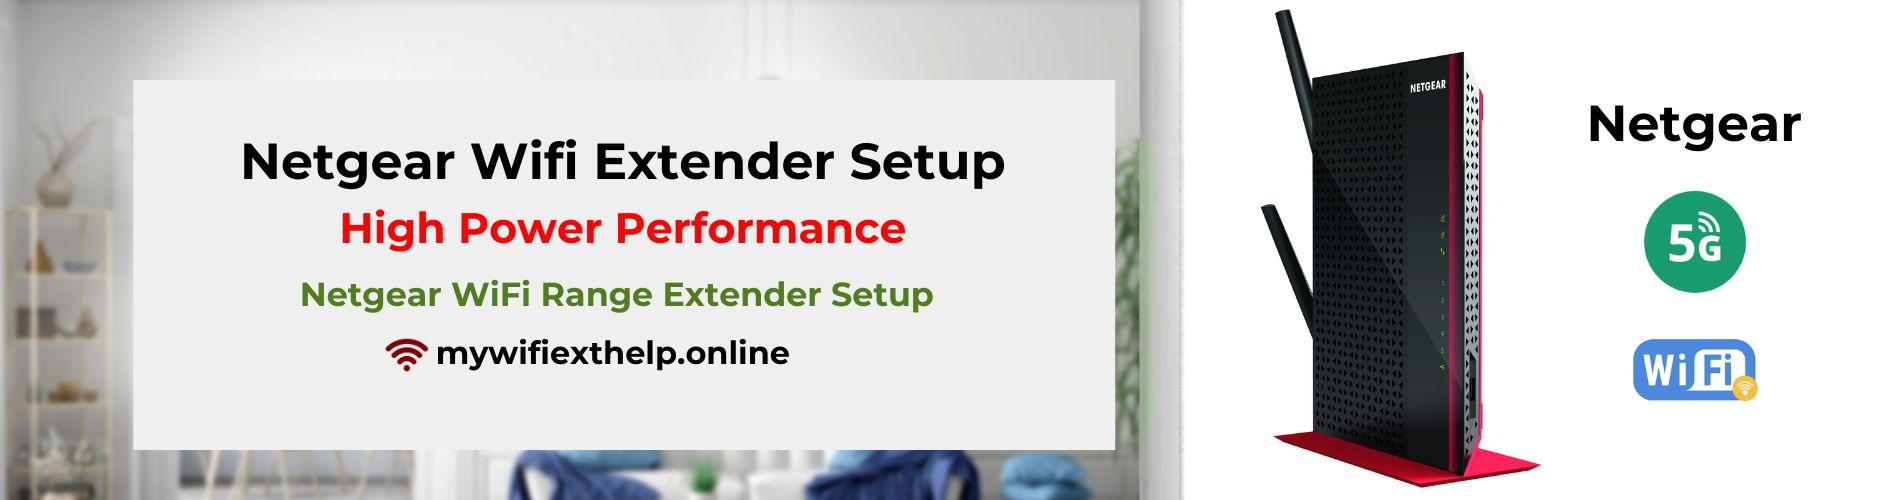
Netgear wifi extender setup
Netgear WiFi extender setup is a powerful device designed to expand the range of your current wireless network. A Netgear WiFi extender might be a game-changer if there are dead zones or weak signals in specific regions of your house or office. It functions by capturing the WiFi signal from your network and boosting it so that it may go further and pass through walls and other obstructions. This ensures a seamless and dependable connection in previously difficult to reach places. Most of the time, consumers can easily set up the extender and start enjoying better network speed immediately afterward because setup is simple.
Netgear extender setup via manual method
Web browser setup is a different term for the manual Mywifiext help or Netgear nighthawk Extender setup technique using an ethernet connection. Follow these instructions to manually configure the WiFi extender:
-
Plugging your Netgear range extender into an electrical outlet will turn it on.
-
Connect the extender and WiFi router at this time.
-
Connect to the “Netgear_ext” SSID after launching the network management.
-
Activate any web browser.
-
Open the “mywifiext setup” default local login page. In the address field bar, type the IP address 192.168.1.250.
-
You may either create a new account or enter your login details here. Just complete the form and press OK.
-
Choose the network that you want to expand.
-
Click the “next” button to continue.
-
Click the “finish” button to finish.
Note: In case you need any help configuring your Netgear Nighthawk Extender, please get in touch with the technician or visit the official website, mywifiext.
How to setup a netgear extender using the wps button?
The WPS method, also known as WiFi protected setup, is the easiest way to set up a Netgear WiFi extender. To accomplish this, follow to the rules laid out below:
-
Be sure to switch on the extender.
-
Find the WPS button on the router, then press and hold it for a short period of time.
-
Check to see if the LED light is now green. If the answer is true, the extender and router have been linked.
-
Furthermore, repeat the procedure if your extender has a dual range.
-
You must now join the extender’s network and enter the same passphrase that is used on the router’s network.
-
The default username and password can then be found by consulting the WiFi extender handbook.
Firmware update for netgear extender setup
-
Let’s take following actions to manually update Extender:
-
Make sure the extender is first plugged into the WiFi router.
-
then access the Netgear support website in your browser. Enter the model number of your extender in the search field here.
-
A list of the most recent firmware versions will then show up on the screen. Choose the version, then click “Download” to store the file on your computer.
-
Now launch your browser again and input the IP address 192.168.1.250 in the url field to access the Mywifiext local login setup page.
-
the user name and password for the extender administrator.
-
Enter the default Mywifiext Login information you were given when you first logged in.
-
After signing in, select “Firmware Update Option”.
-
To upload the downloaded firmware file, choose it and click the browse button to find it.
-
The Netgear extender firmware upgrade process begins on the same page. It takes two minutes to complete this process.
How do I reset the netgear wifi range extender?
Follow these five easy steps to restore your Netgear wifi range extender to factory settings:
-
Find the reset button on the extender’s side or rear panel. Usually, it looks like a tiny pinhole button.
-
Press and hold the reset button with a paperclip or other similar object for about 10 seconds until the extender’s power LED begins blinking.
-
Press the reset button and watch for the extender to resume. This may require a few moments to complete.
-
The factory default settings will be used when the extender restarts.
-
You can now modify the extender by following Netgear's instructions for the initial configuration.