

Trezor.io/start (Official) | Set up your #Trezor Model One
In the ever-evolving world of cryptocurrency, security is paramount. A hardware wallet like Trezor ensures that your digital assets remain safe from online threats. If you’ve just purchased a Trezor Model One, the best way to get started is by visiting Trezor.io/start. This official setup guide walks you through everything you need to do to start using your Trezor wallet efficiently and securely.
Why Choose Trezor Model One?
Trezor Model One is one of the most trusted hardware wallets, offering robust security for your cryptocurrencies. Here are some key benefits:
-
Unparalleled Security: Protects against phishing, malware, and hacking attempts.
-
User-Friendly Interface: Simple setup and usage, even for beginners.
-
Wide Compatibility: Supports over 1,000 cryptocurrencies.
-
Offline Storage: Your private keys remain offline, eliminating the risk of cyber theft.
-
Open-Source Software: Transparent and regularly updated for optimal security.
Step-by-Step Guide to Setting Up Trezor Model One
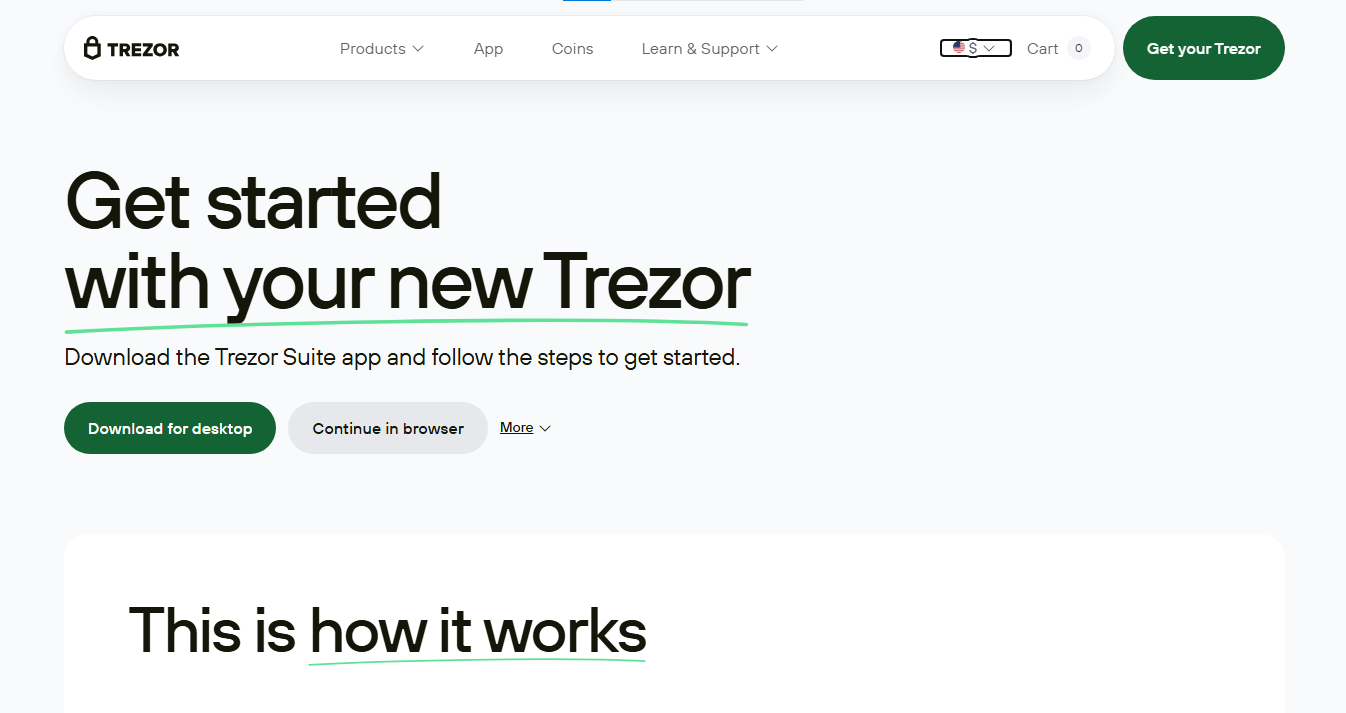
Step 1: Visit the Official Trezor Setup Page
Go to Trezor.io/start on your browser. Make sure you are on the official site to avoid phishing scams.
Step 2: Connect Your Trezor Wallet
Use the provided USB cable to connect your Trezor Model One to your computer. A welcome screen will appear, prompting you to proceed with the setup.
Step 3: Install Trezor Suite
Download and install Trezor Suite, the official app for managing your cryptocurrencies securely. This software is available for Windows, macOS, and Linux.
Step 4: Update Firmware
Before initializing the wallet, ensure you update the firmware to the latest version. This guarantees you have the most recent security patches and feature updates.
Step 5: Create a New Wallet
Once the firmware is updated, you’ll be prompted to create a new wallet. Confirm this action on your Trezor Model One.
Step 6: Backup Your Recovery Seed
Your Trezor device will generate a 12-24 word recovery seed. Write these words down carefully and store them in a secure place. This seed is the only way to recover your funds if the device is lost or damaged.
Step 7: Set Up a PIN Code
Choose a strong PIN code for additional security. The PIN protects your device from unauthorized access.
Step 8: Start Managing Your Cryptos
Now, you can start sending and receiving cryptocurrencies. Use Trezor Suite to monitor balances, make transactions, and enhance security settings.
Advanced Features of Trezor Model One
1. Passphrase Protection
Add an extra layer of security by enabling a passphrase, which functions as a “25th word” in your seed phrase.
2. Shamir Backup
Use Shamir Backup to split your recovery phrase into multiple shares, reducing the risk of loss or theft.
3. Multi-Signature Transactions
Trezor Model One supports multi-signature wallets, adding another level of protection for your assets.
4. Tor Support for Anonymous Transactions
Use Tor integration within Trezor Suite for enhanced privacy while managing your funds.
5. Integration with Third-Party Wallets
Trezor Model One is compatible with Electrum, MetaMask, MyEtherWallet, and more, offering greater flexibility.
Conclusion
Setting up your Trezor Model One through Trezor.io/start is a straightforward process that ensures top-tier security for your digital assets. With advanced features like passphrase protection, multi-signature support, and Tor integration, Trezor is a must-have for crypto enthusiasts.